How to Plan and Shoot an Online Course in 2024 (Ultimate Guide)

Most (future) course creators have great ideas.
Ideas that would provide lots of value to their target audience and create a new source of income.
However, most course creators also have a problem.
They don’t have a clue on the best way to create their online course.
The result? Either:
- a course they never publish or
- a half-baked one that just doesn’t cut it.
Not a good look either way.
If you want to increase your chances of course creation success, you must know how to plan and shoot your course.
I’ve created multiple 7-figure online courses and have gone through all the trials and errors (multiple times).
And that’s exactly what I’ll share in this article.
Pre-Production Considerations
Creating an online course offers a huge opportunity to make a difference (and life-changing money).
However, it’s also a major investment of your time and energy.
As such, you should really understand whether it’s the right move for you.
The beauty of online courses is that you don’t need to be a world-renowned expert.
You just need to know a specific topic better than the average person.
Maybe you’ve spent years mastering a niche skill.
Or you have deep professional experience – like being a working musician or successful realtor.
Whatever your background, I guarantee some people could benefit from that hard-earned knowledge.
Start with your own circle.
Are co-founders, coworkers, friends, and family constantly picking your brain?
An online course lets you package that insight to reach an exponentially more expansive audience.
But before going all-in, you need to validate there’s real demand for what you want to teach.
That’s where audience research comes in.
Simple tactics like:
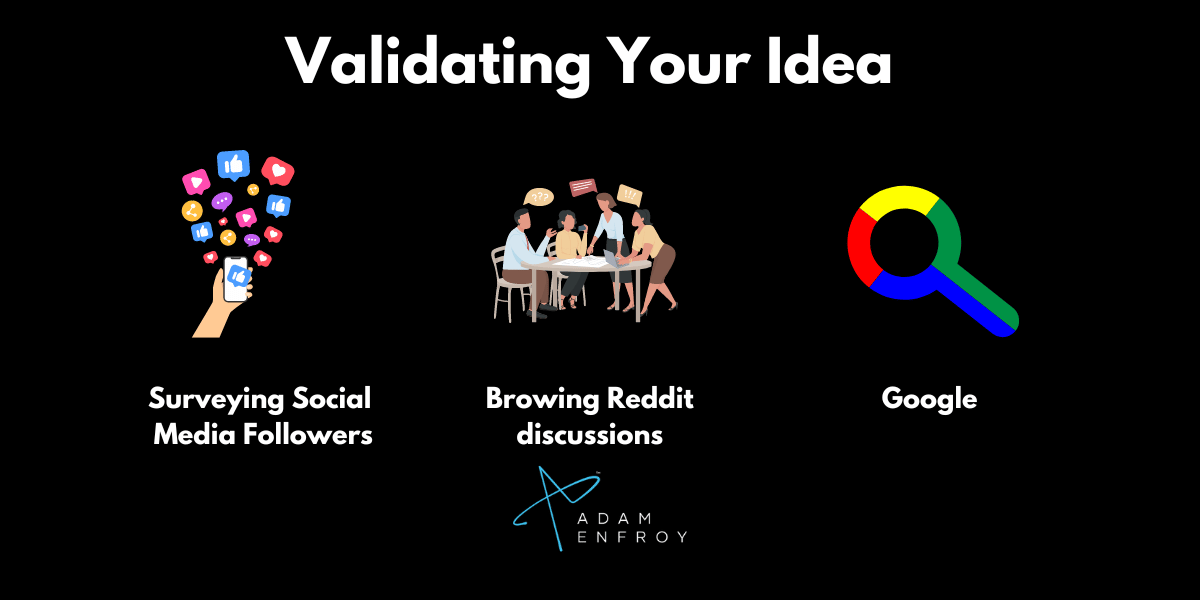
- surveying your social media followers
- browsing Reddit discussions or just
- good old Googling
…can reveal people’s burning questions and pain points.
Finally, be honest about the time commitment required.
Filming online course videos, creating materials, editing and uploading content takes time.
How much time?
It depends on your level of course creation expertise.
If it’s your first time doing it, expect it to take more than you think.
The good news is that it’ll be quicker each time you do it.
Preparation and Planning
Now that you’ve validated the demand for your expertise, it’s time to get specific about what you’ll be teaching.
First, brainstorm every potential topic that comes to mind.
Don’t censor yourself—just let the ideas flow freely.
Teaching a coding boot camp? Write it down.
Maybe a masterclass on vegan baking? On the list it goes.
Once you have an exhaustive list, evaluate which ideas feel most compelling.
Which ones light you up with excitement and passion? Those are the ones to prioritize.
It’s also wise to research if existing courses are already covering your chosen topic.
This allows you to identify gaps, unique angles, or opportunities to improve upon the current offerings.
You also (probably) don’t want to be the first course creator in a small, obscure niche.
If people aren’t selling in a niche, there might be a reason for that.
Let’s say you want to teach photography.
A quick search shows plenty of beginner “Photography 101” courses.
But you notice few go in-depth on concert photography. And you have experience in this topic.
Bingo – that could be your niche to differentiate.
The goal is to walk the line between:
- tapping into clear demand while also
- bringing something fresh to the table – something people can’t already get elsewhere.
By vetting your ideas against your own interests and the market landscape, you’ll eventually find that winning course concept.
Outline Your Course
With your course topic nailed down, it’s time to start mapping out exactly what you’ll cover.
Proper preparation and a detailed outline are crucial.
I recommend opening a fresh Google Doc and writing down all the key points, concepts, and skills you want to teach.
Don’t worry about structure yet, just get it all out of your head and onto the page.
Once you have that master content list, start grouping related items into logical modules and lessons.
Continuing the previous example, say you have a few lessons covering photography gear and settings.
Those could be rolled up into an “Equipment Basics” module.
With each iteration, the outline should flow more intuitively.
Each module should also build on the previous one.
Your goal is to take students from foundational to more advanced topics gradually.
Set Goals and Objectives
Before you dive into filming, there’s one more important step.
Defining what students should walk away with after completing your course is critical.
What would it look like if you had to talk to a student and complete this statement?
“By the end of this course, you will be able to…”
Setting measurable goals and learning objectives upfront keeps you focused.
For each module and lesson, get specific about the skills or knowledge students will gain.
What are the tangible takeaways they should be able to put into practice?
For example, in a photography course module on lighting, your objectives might be:
- Students will be able to set up and utilize three-point lighting for portraits
- Students will understand how to choose lighting modifiers based on the scenario
- Students will know how to adjust camera settings to expose different lighting setups.
Define these objectives as precisely as you can.
That gives you clear goalposts to aim the content towards.
It’s also wise to set overarching goals for the course.
How many students do you want to see complete it within the first 6 months? A year?
Having measurable targets like “80% of enrollments will finish the course within 90 days” gives you something concrete against which to track your performance (more on this later).
It’s easy to get lost in the weeds unless you’re super clear.
But with carefully defined objectives and goals, you stay laser-focused on delivering an impactful, streamlined learning experience.
Creating Course Content
With your outline and objectives locked in, it’s time to start creating the course content and materials.
When it comes to presentation software, most creators use either Keynote, Google Slides, or Canva.
They all have pros and cons regarding features and ease of use.
Whichever tool you choose, the key is creating visually engaging slides that reinforce your lessons – without being too text-heavy or distracting.
As you’re building out slides, be strategic about how much content you include on each one.
The slides should underline and punctuate your key talking points, not replicate your entire script verbatim.
Also:
- use white space
- use high-quality photos/graphics and
- focus on clarity over quantity.
You should create visual references that enhance comprehension, not something overwhelming.
Combine this with your on-camera delivery and your course materials will instantly feel more polished and professional.
Developing Visual Aids
As you outline each lesson, note where a specific diagram, graph, or visual example could reinforce the topic.
For instance, what could be a great visual aid if you’re teaching a lesson on analyzing market trends?
I’m not an expert, but having stock charts demonstrating different technical patterns would help.
Or, some product shots and graphics would benefit a photography module on equipment.
Beyond static visuals, this is also the stage to plan for other supplementary materials.
Think worksheets, checklists, templates, or downloadable resources.
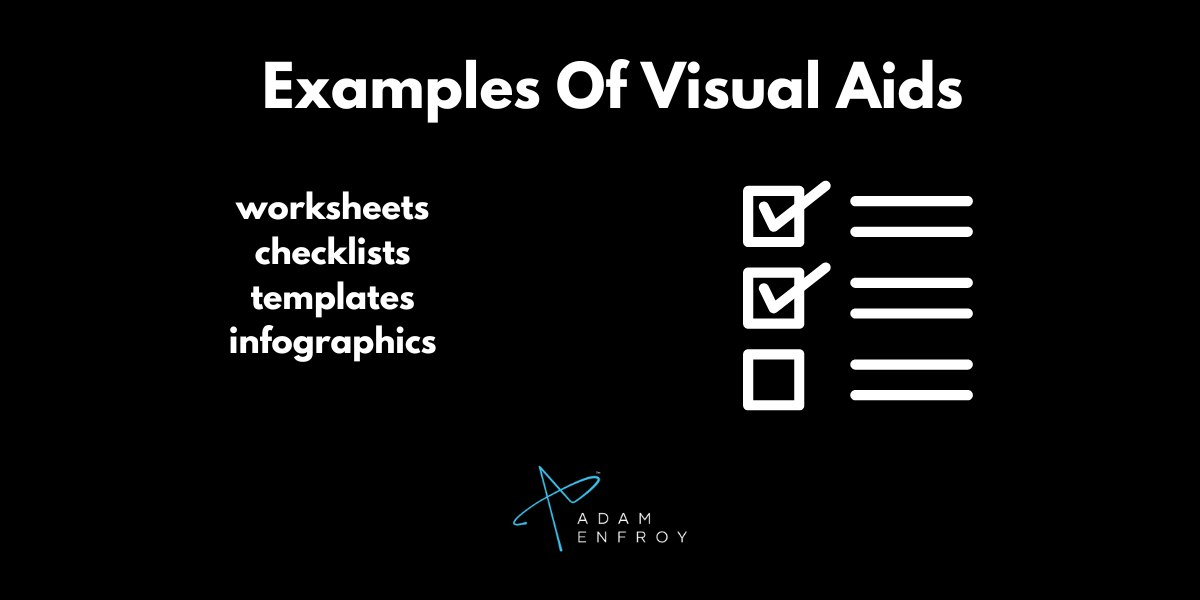
These resources include anything you can provide to make lessons more interactive and actionable.
The key is thinking through precisely what students need to grasp each concept fully.
Once you know this, you spend some time developing online educational media to help abstract ideas take concrete form.
They give your course an extra layer of depth and credibility.
After all, you’re not just lecturing but delivering a comprehensive educational experience.
Equipment Setup
There are three main factors regarding equipment: audio, video and recording software.
Audio Equipment
I suggest investing in a good USB microphone like the Blue Yeti or Shure MV7 for high-quality audio capture.
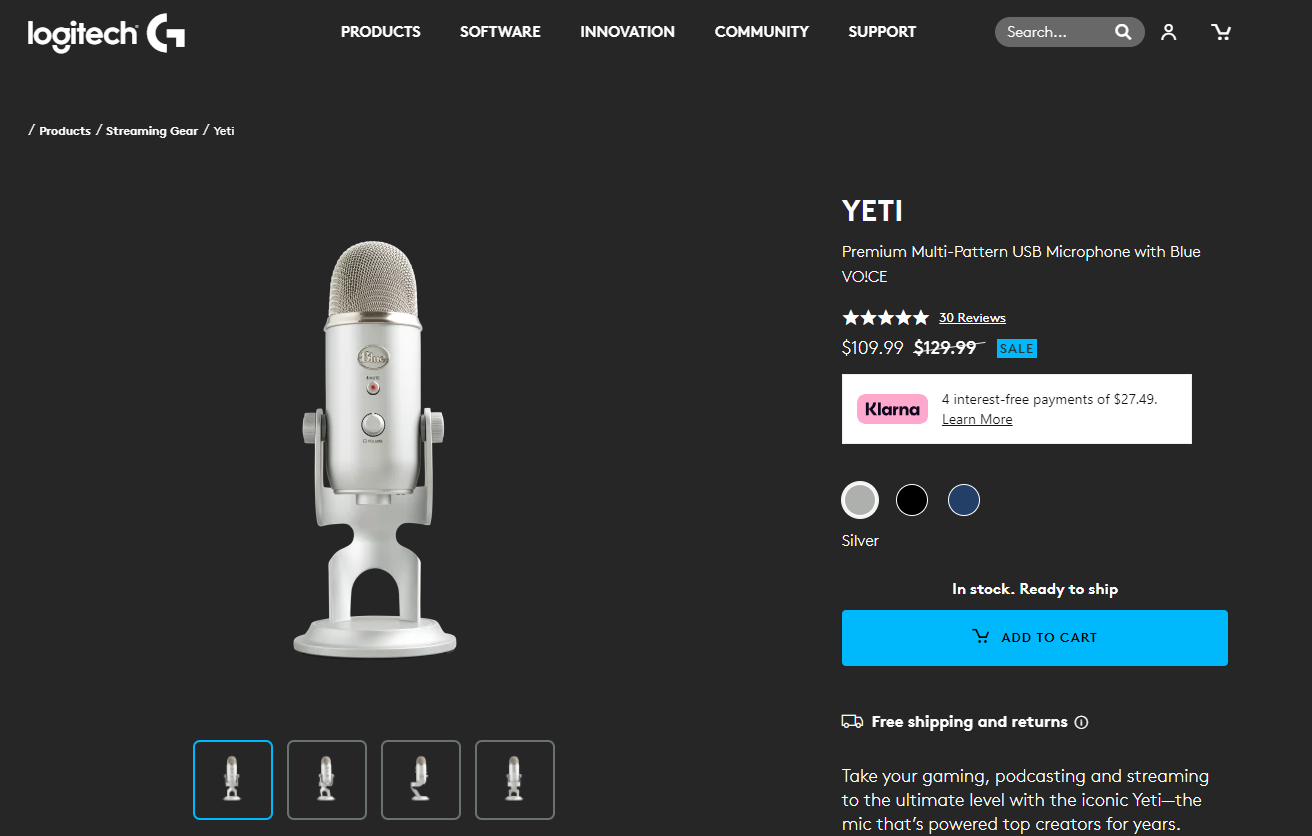
Source: logitechg.com
These provide rich, clear sound without needing extra equipment.
Be sure to also use a pop filter.
This inexpensive foam guard minimizes disruptive sounds from your speech and makes a huge difference in cleaning up vocals.
Keep your microphone around 6-8 inches from your mouth and slightly off-axis rather than directly in front of you.
Video Equipment
You don’t need film production skills to get going.
The most straightforward beginner setup for video is just using a decent webcam or smartphone camera.
However, if you want to improve video quality, consider investing in a DSLR camera.
The Canon M50 is a great camera to shoot high quality videos.
It provides far better image quality, depth of field control, and advanced focusing/exposure features.
Proper lighting is crucial for a polished, professional look, regardless of your camera choice.
As such, aim for three-point lighting:
- Key light – Your primary front light source illuminating your face
- Fill light – A dimmer side light to soften shadows
- Backlight – A rear light to give depth/separation from the background
Affordable LED light panels or even bright lamps can achieve this lighting setup at home.
Play with positioning and brightness levels until you have an evenly exposed, flattering look without harsh shadows.
Lastly, be mindful of your background.
A plain wall or a bookcase minimizes distractions, so viewers stay focused on you and your teaching content.
Recording Software
You have beginner and more advanced software options for recording and editing your course content.
If you want an easy, all-in-one solution ideal for getting started quickly, check out Loom.
It handles screen recording and basic video editing through a clean, intuitive interface.
It is perfect for creating courses without a steep learning curve.
On the more powerful side, you can use QuickTime, Screenflow or Camtasia for screen capture.
Then, you can edit your videos using Final Cut Pro, iMovie, Capcut, or DaVinci Resolve (the last two are free editing software).

Source: capcut.com
These all have pros and cons and a specific list of features.
Whichever editing software you choose, take time to learn the core functionality.
You can also consider outsourcing this process if you feel spending the time to learn how to do it (and actually doing it) isn’t the best use of your time.
With your equipment list out of the way, it’s time to get to the fun part.
Filming Your Course
When it comes to filming your course videos, you have a few main options for the style and method.
Talking Head Videos
This involves setting up your camera and filming yourself teaching.
The pros are that it feels personal and works a treat to create engaging videos.
But it also puts a lot of pressure on you to deliver charismatic lectures – especially if you’re doing it without any visual aids.
Slide-Based Videos
The alternative is recording a voiceover while showing your slide deck.
This lets you lean on visual online learning materials – rather than just talking into the camera.
Slide videos can feel dry without your physical presence.
A common technique is using Picture-in-Picture (PIP) to insert your face in the corner.
This provides that human connection.
Hybrid Approach
My preferred method combines the best of both worlds.
I start each lesson with a short talking head segment to welcome viewers and provide a friendly introduction.
Then, I transition into showing my slides with voiceover and PIP as I get into the core video content.
This formula leverages the strengths of each style.
No approach is definitively better when you record videos.
It depends on your topic, personal preferences, and equipment constraints.
But putting thought into the filming method upfront ensures your delivery meshes well with the course materials.
Other Filming Considerations
To create a truly engaging and effective course, don’t just rely on lectures and slides.
Incorporate interactive elements and varied content delivery formats.
Quizzes, polls, and assignments are great for breaking up passive consumption and ensuring your students retain information.
Simple techniques like having them submit homework or answer concept-checking questions force active participation.
You can also keep things fresh by bringing in different content styles.
For example:
- Interview subject matter experts to provide supplemental perspectives
- Include real-world case studies to illustrate practical applications
- Record software demos or walkthroughs for technical topics
- Have students complete hands-on activities or challenges
Offering educational opportunities to as broad a range of learning needs makes your course more appealing.
It also closely mirrors an actual classroom experience.
Finding the right interactive cadence for your topic and audience is key.
Too much bloat or fluff adds unnecessary complexity.
However, sprinkling in meaningful activities, examples, and bonus materials improves the overall course.
Editing Your Course
After your filming is done, it’s time to jump into editing.
Here’s the three-step process that works best (based on my team’s experience).
Getting Organized
Once you’ve recorded all your course footage, it’s time to get organized.
Here’s how I recommend you do this.
First, import all your video and audio files into your editing software of choice.
Make sure you have both your main camera angles and any supplemental footage on hand.
Next, create a logical folder structure to keep everything easily accessible.
I recommend separating each module or lesson into its folder, with subfolders for video, audio, graphics, etc.
Review and label each file with a descriptive name as you import clips.
This prevents confusion later on.
For example:
- “1_Introduction_CameraAngle1”
- “2_GearOverview_Screencast
- “3_ShootingModes_CameraAngle2”.
The more specific, the better!
If you recorded audio separately from video, this is also the stage to sync everything up.
Finally, select your best clips from each take or recording pass (if you have multiple ones).
Starting with these picks and making edits on them is the way I’ve found to be best.
Proper preparation and organization may seem tedious.
Taking the time upfront to label your raw materials prevents chaos later on.
Basic Editing Techniques
Here are some basic techniques you’ll use when editing.
Trimming and Cutting Clips
You’ll likely have lots of rambling, unnecessary takes, and extra footage to tighten up.
Use the trimming and splitting tools in your editing software to isolate the good portions of each clip you want to include.
Tight editing keeps things engaging.
Syncing Audio and Video
If you recorded audio separately, you must manually sync up the video and audio clips based on timecode or markers.
Good sync is critical for professional quality results.
Adjusting Volume Levels
Uneven audio is distracting.
Monitor your audio meters and use keyframes or compression to normalize volume levels.
You may also want to apply noise reduction or EQ to enhance vocal quality.
Adding Transitions
Basic cut edits can feel abrupt.
Use transitions (I find simpler ones like cross-dissolves or motion wipes better) to smoothly transition between clips and shots.
Just don’t go overboard – too many flashy transitions are cheesy.
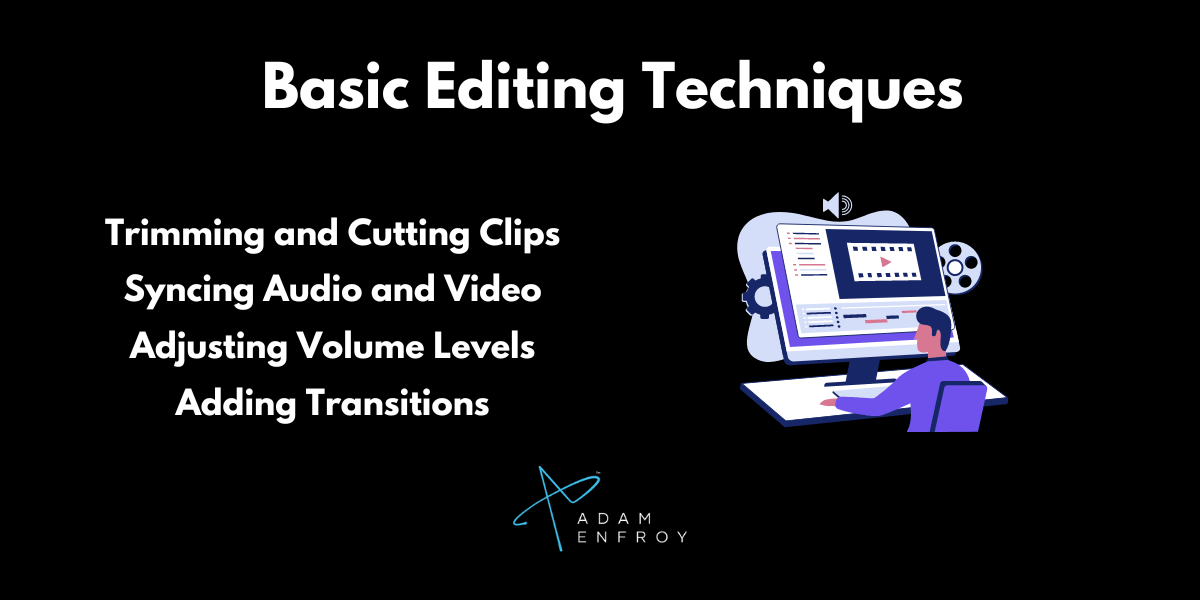
These fundamental skills form the editing foundation.
I’d say master them first and only move to more complex ones if needed.
This is more than enough for most course creators to produce high-quality courses.
Hosting Your Course
Once your course videos are edited and complete, you must decide where to host and sell the content.
Popular platforms like Thinkific, Kajabi, Teachable and LearnWorlds are worth considering.
Each platform has pros and cons regarding ease of use, revenue share, pricing flexibility, and marketing capabilities.
Whatever you choose, they generally make it straightforward to:
- upload your videos
- organize your curriculum into modules
- integrate payment processing
- get listed and
- start marketing your course.
Final Tips for Online Course Success
With your course successfully hosted and launched, the work isn’t quite over yet.
Here are a few practical tips to consider:
Marketing Your Course
Now that you’ve done the hard work, you must stay consistent and tell people about it.
If not, all the work will be for nothing.
Here are some marketing ideas to help you get started:
- Use social media: use top-of-the-funnel content to educate your audience about a problem your course solves. You can also share valuable snippets from your course to get people curious to check it out.
- Use email marketing: An email list is a great way to stay in touch and make seasonal offers for people to join your course.
- Consider content marketing: blog posts, articles, podcasts, YouTube videos, and other online content creation channels are great to help spread the word about your course.
- Collaborate with others: If you can use other people’s audience to attract new eyeballs to your course, go for it. The more targeted the audience, the better.
Keeping Content Current
Course materials can become outdated relatively quickly.
Plan to periodically review and refresh videos, slides, examples, etc.
The goal is to ensure everything remains accurate and relevant.
You don’t want students accessing obsolete information.
That damages your credibility and their experience.
Responding to Students
One major key to success with your online course is actively engaging with students and building a strong community around it.
Don’t just launch it and ghost!
Make a habit of regularly checking in on course comments, discussion forums, and any other channels where students interact.
Respond to questions, provide feedback, and drive conversations.
Also, encourage an open dialogue.
Ask students to share their progress, insights, and struggles.
The more you engage, the better the experience for everyone involved.
Take A Proactive Role
Beyond reactive engagement, take a proactive role too.
Pose thought-provoking questions to spark discussions or share bonus tips and advice via announcements or emails.
In other words, think about course creation as the start of community building.
The goal is to create a tight-knit experience where students feel supported and part of an active learning cohort. Not just passive video watchers.
When they see you’re invested, they’ll stay invested too.
Meaningful interactions and relationships are a huge part of what makes online courses so powerful.
Conclusion
Creating an online course is a big step.
It can also be incredibly rewarding if you take the time to plan and shoot it correctly.
Ultimately, preparation is critical.
Start by validating your idea, then carefully outline your content.
Next, ensure you have the equipment and know-how to film and edit your videos.
Finally, choose the right platform and stay engaged with your students.
Further reading on AdamEnfroy.com: Understanding how to structure your online course effectively is essential to maximizing its impact.
Check out this guide on structuring an online course for some valuable tips.
If you’re looking for a platform to host your course, here are the best online course platforms.
This article provides a comprehensive look at how to use AI to help create courses.
Finally, if you’re looking for more step-by-step guidance on creating your course, don’t miss this 14-step guide.
