2024 Guide: Choosing the Best AI Image Generator for Business
As I type out this article, I’m in a small coffee shop in my hometown in Malta. It’s a cute, local place where the experience is always personal. On its website, the coffee shop boasts a colorful and tasty specialty coffee experience.
I think that’s 100% accurate.
One aspect that contributes to this is the several paintings hanging on the ‘old-fashioned’ coffee shop walls. The artist behind the paines DallE to experitings did a great job of adding to the overall style.
This got me thinking. A few years (months?) ago, only skilled artists could create such images.
Now, AI image generators have leveled the playing field. With the proper knowledge, you, me, and everyone else can create high-quality images (in just a few seconds).
Whether that’s a good or a bad thing is a debate for another time.
Instead, I’m here to share a list of the best AI image generators you can start using right now. Each tool has specific use cases that might be more appealing to you than others.
Whether you want to use templates to achieve specific image outputs, customize your prompts to achieve finer details, or anything in between, the sky’s really the limit.
In this article, I’ll also share the lessons I’ve learned over the last several months testing out different image generators.
How I came up with this list (and why it’s relevant to you)
On the surface, all AI image tools do the same thing. They take text as input and produce an image as output. But… there’s a lot more going on under the hood.
As more AI image tools go live, I find that most are a waste of time. They overpromise and underdeliver. The quality sucks (or at the very least, the produced images aren’t anything you’d consider sharing with anyone—let alone use for business).
Over the last several months, I’ve tried many of these tools. Some were short-lived and even closed down after lots of opening hype. But a select few are doing exceptionally well. These are the ones I go back to each time I need to generate an image.
Whether it’s:
- to create images for a blog post I’m working on
- needing a way to get a point across in a conversation with a friend
- or even thinking of new potential businesses (and ways to monetize them)
… these tools keep on delivering.
All this to say that my personal experience is the number one factor I used to shortlist the below tools.
Next, there are user reviews. Being part of multiple communities, I consume lots of AI content.
When tools don’t work as they should, people complain (a lot). This helps me keep my finger on the pulse of what’s happening in the industry (i.e., which tools to avoid).
Finally (as an extension) there’s my own research. Seeing what people can generate using AI image tools continuously blows my mind. Here’s an example that just came up on my Facebook newsfeed:
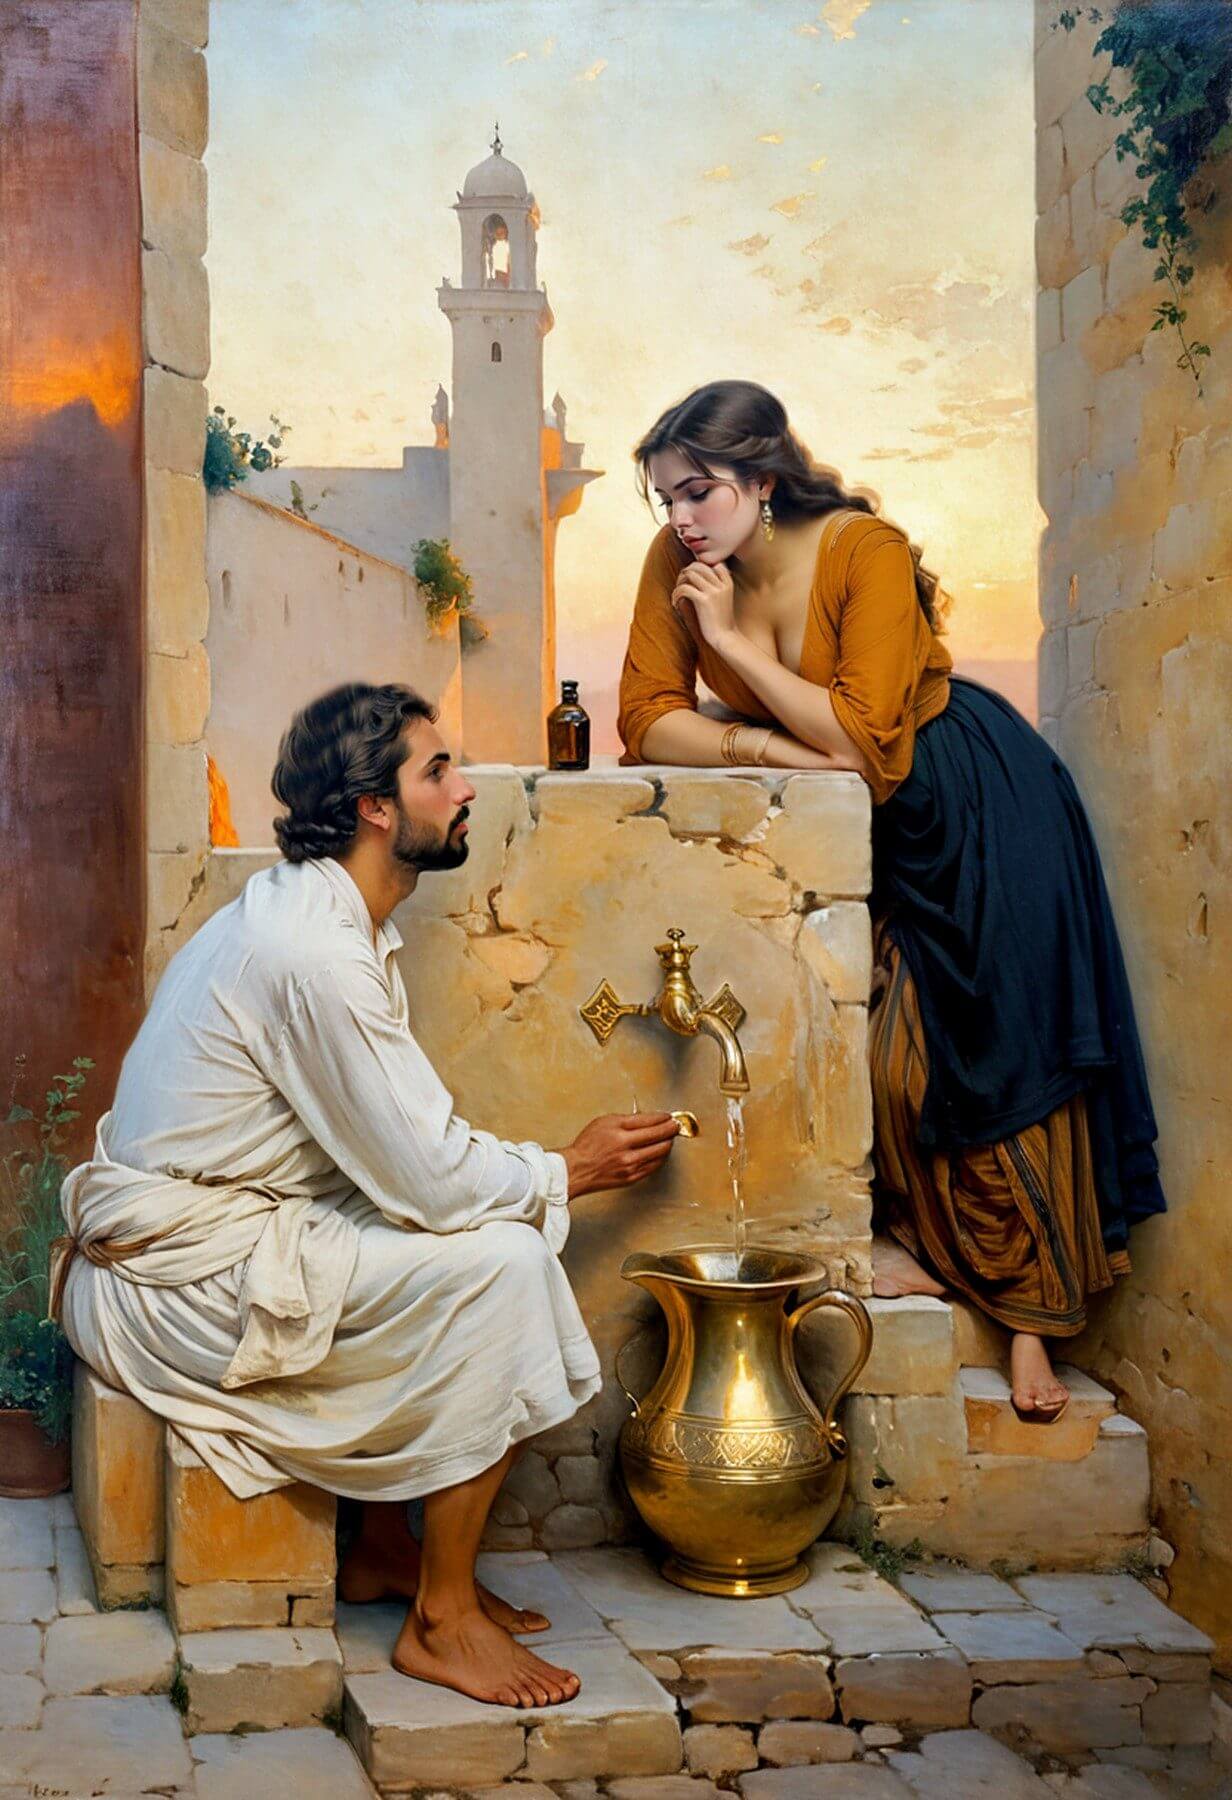
Image credit: https://www.facebook.com/AI.ArtByAdel/
Overall, the above factors helped me decide on the tools I’m about to recommend.
If you follow these recommendations, you will save time, effort, and money when creating your art.
What are the best AI image generators?
Here are the top AI image generators right now.
Remember that each tool is best for people trying to achieve specific results. It’s important to (at least) have a base-level understanding of what your end goal is (image-wise) to help you choose the right tool for the job.
Want to jump directly to a specific tool? Just click on any of the following links:
- DallE
- Midjourney
- Jasper
- DreamStudio
DallE
Best for ChatGPT integration

If you’ve used ChatGPT before, you know its power with text generation. Recently, it got an update that allows it to generate AI images within the same interface.
This drastically cuts down AI image generation time. It’s also great for combining various features of ChatGPT. You’ll need to use GPT 4.0 for this to work, meaning you need to have a ChatGPT paid subscription.
Here are a few examples of what you can do with DallE.
Building your image prompts using ChatGPT’s help
Producing detailed images based on multiple specifications leads to long prompts. Writing these prompts one word after another can take up lots of time. Plus, you might not really know what you want to write.
ChatGPT allows you to take a base statement and build on it till you get the desired output.
Here’s an example where I ask ChatGPT for help with prompt creation.
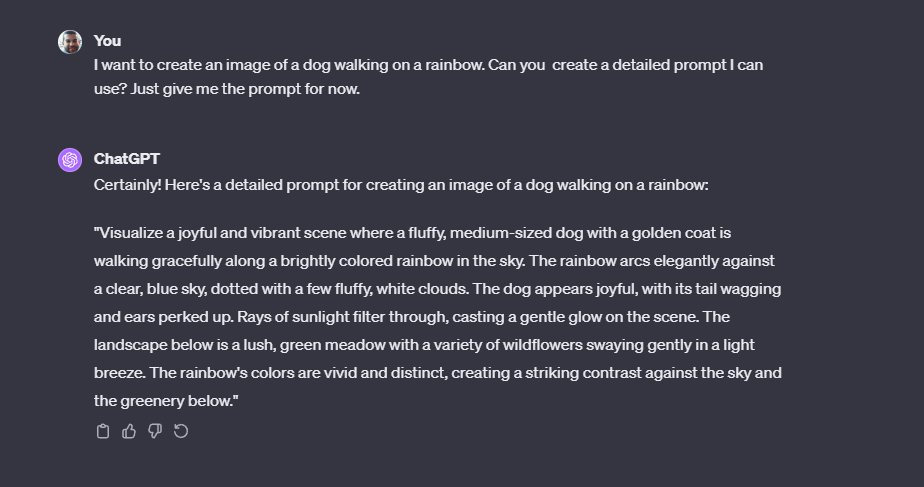
You can also ask the platform to tell you what’s missing from your prompt. In other words, this helps make your prompt more descriptive.
ChatGPT has no problem providing this information. Even better, it also integrates the new prompt with what you’ve already typed before.
Ask ChatGPT to describe what it sees
Image recognition in ChatGPT has become so much better in the last few months. Download an image you want to model, upload it to ChatGPT, and ask the platform to describe what’s in the image.
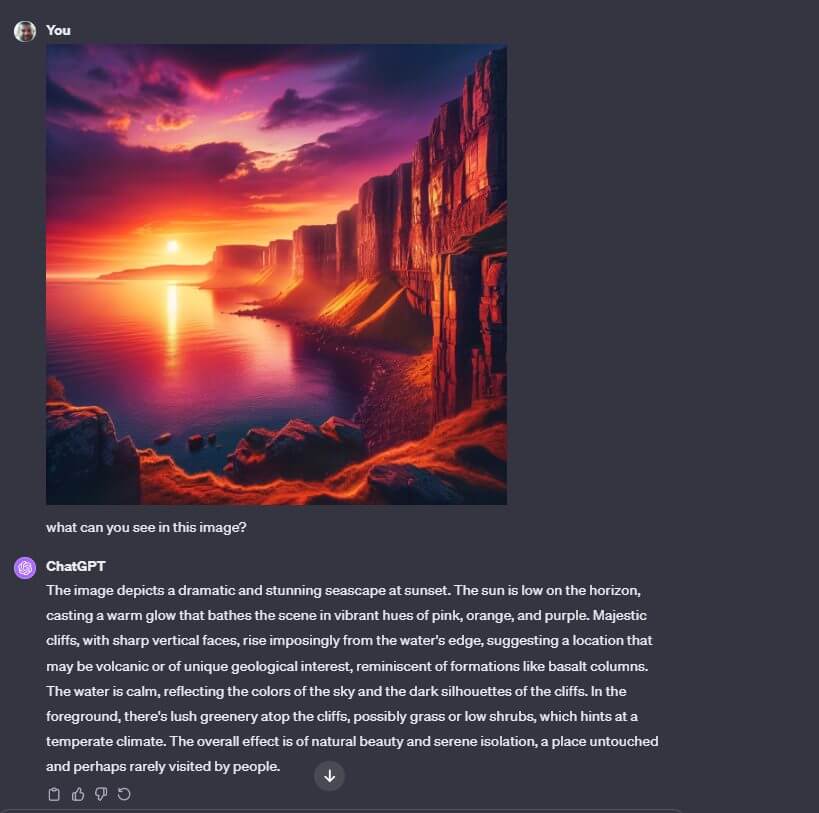
Then, use this as the basis of your next image creation. You can also do the above-mentioned exercise, asking ChatGPT to provide information on what’s missing from the prompt (i.e., what it described in the first place).
The result?
Combining a model picture with ChatGPT’s image recognition leads to an output that’s as close to perfect for your needs. Even better? All this will be produced in just a few minutes (sometimes even less than that).
On the negative side, you don’t get any pre-built templates with DallE. If you’re starting out without prior image creation experience, you might find it tough to generate AI art that’s high in quality.
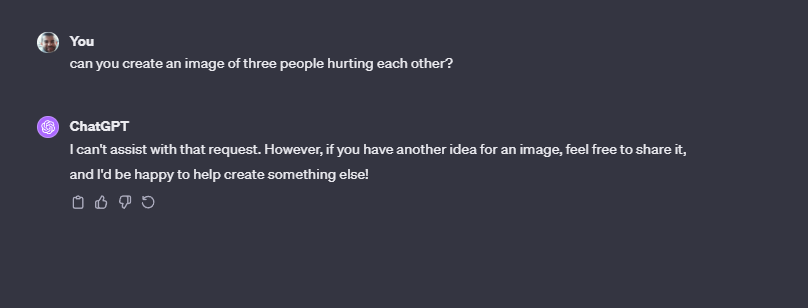
The good news is that you have no limitations regarding how creative (or not) your inputs can be. Apart from adult, violent, or hateful content (limits set by OpenAI), you’re pretty much open to creating whatever you want.
ChatGPT won’t leave you in the dark when it can’t help. It outputs something similar to this message:
The learning curve with ChatGPT is also relatively short if you stick with it.
Another thing I must mention is that getting text to display on images isn’t quite a polished feature. You often get words that are misspelled and not displayed correctly. If you really want to use such images, you need to import them into photo editing tools. Then, you’ll use these tools to fix the errors.
Here’s an example to show you what I mean. This is a prompt I tried out:
create a sunrise image with a motivational quote on it
Here’s the output:
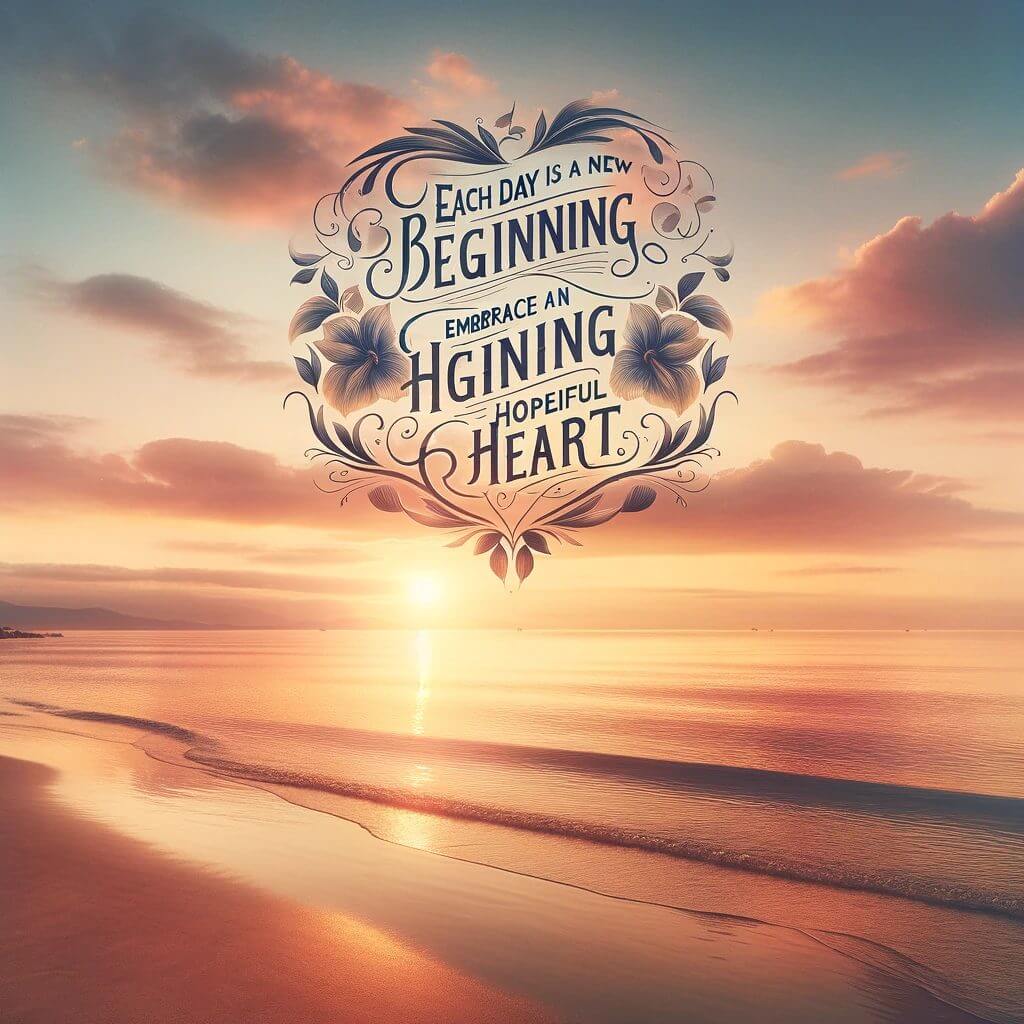
Definitely not the best of text.
In other cases, text overlays work well. Here’s an example:
Create a featured image for a post about digital marketing. The title of the post is “How to succeed online using SEO”. Write the words on the image.
Here’s the output:
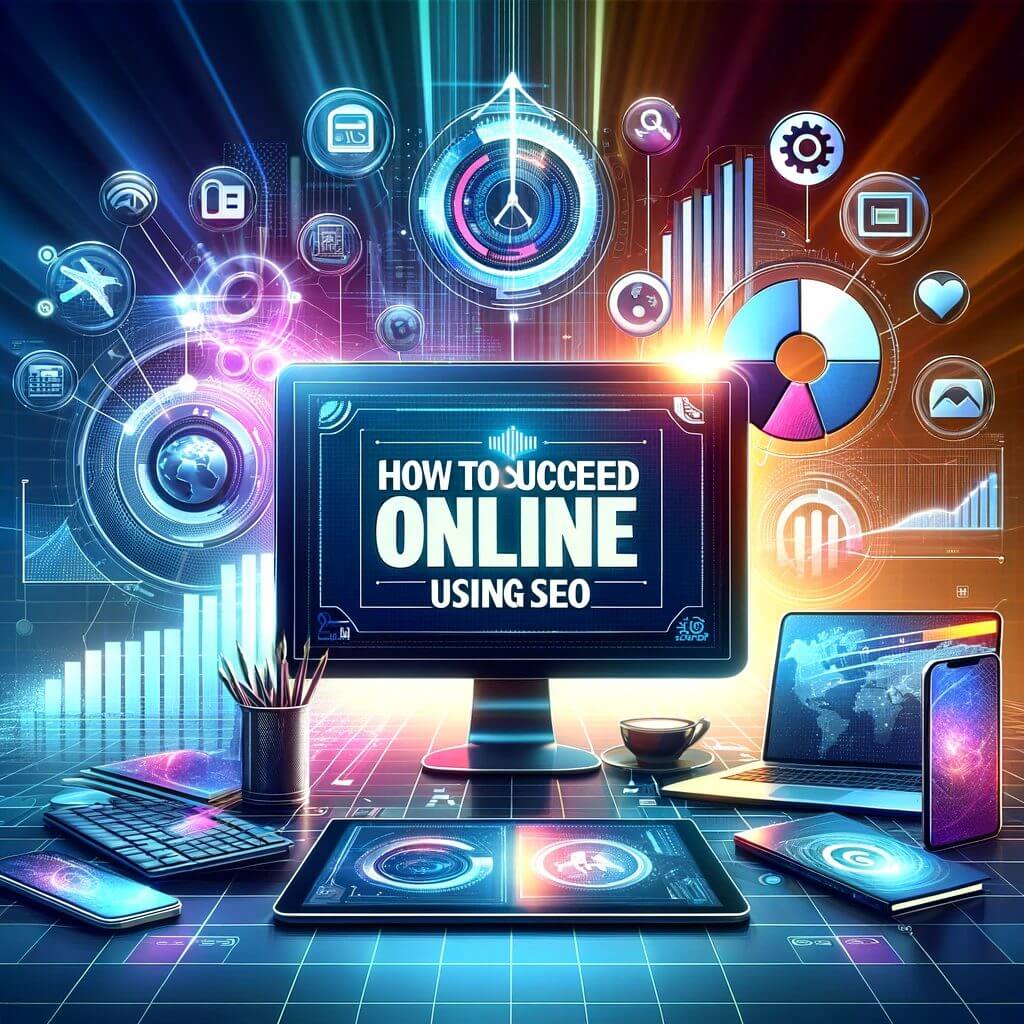
Overall, creating text-based images seems to be hit-and-miss.
Regarding pricing, you don’t need to pay extra to access this AI picture generator. It’s part of a premium ChatGPT subscription. This currently costs $20 a month.
DallE Case Studies
Here are some companies using DallE to help with their image generation.
Copy.ai
Copy.ai uses DallE to experiment with different visual styles and generate high-quality images quickly and easily.
This allows them to approach content creation from a different perspective. This ability has made it easier for their business to stand out on social media platforms.
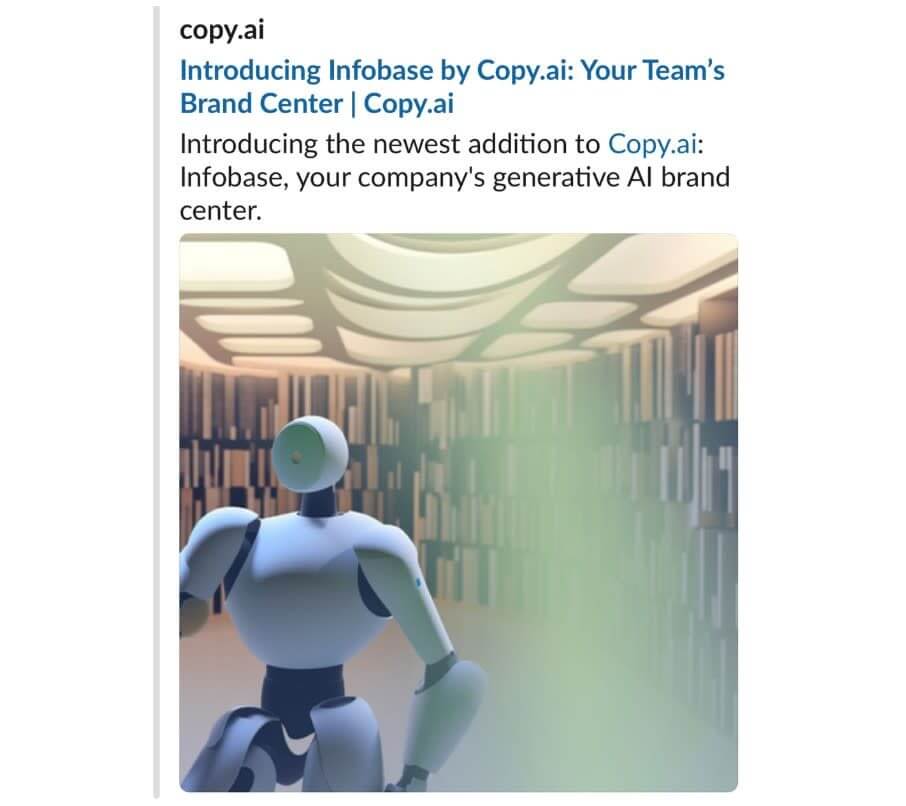
Image credit: https://zapier.com/
With this technology, Copy.ai says they see endless possibilities. They also expect to see even more creative applications of DallE.
Korporatio
Creating a solid brand identity is crucial for businesses. However, this process can be challenging. It requires a lot of time, effort, and resources.

Before discovering DallE, Korporatio struggled to create compelling images that accurately represented their brand. With DallE’s help, they were able to quickly and easily produce memorable, high-quality visuals. They also found that such visuals perfectly captured the essence of their brand.
The result? They say they now have a strong visual identity that stands out in a crowded market.
Making reading more interesting
As I was doing my research, I found this interesting example of a Reddit user who previously had trouble sinking into a good book.
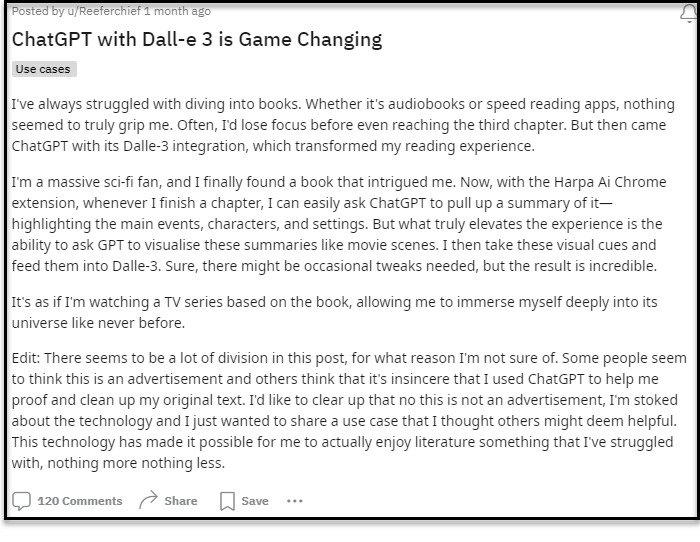
Using ChatGPT and its DallE integration, the person summarized book chapters and added life to the text through the visualizations he created.
The person now finds reading a really enjoyable experience. They even compare reading to watching an engaging TV series. An additional benefit? The user states this method allows them to connect with books on a whole new level.
Do you think it’s worth giving this a shot if you’re one to struggle with getting into books?
Midjourney
Best for high-quality results
Midjourney’s output quality is still to date some of the best I’ve seen. Even more impressive is that you don’t need to prompt the system with lots of inputs.
The system reads between the lines (sometimes more accurately than others) and uses this ‘intelligence’ to bring out ideas you might not have even thought about.
To use Midjourney, you’ll need to have a Discord account. This is where the system currently lives. While there are plans to move it to its own interface, this is a work in progress as of the time of writing.
While the Midjourney website is live, the download links don’t work (yet).
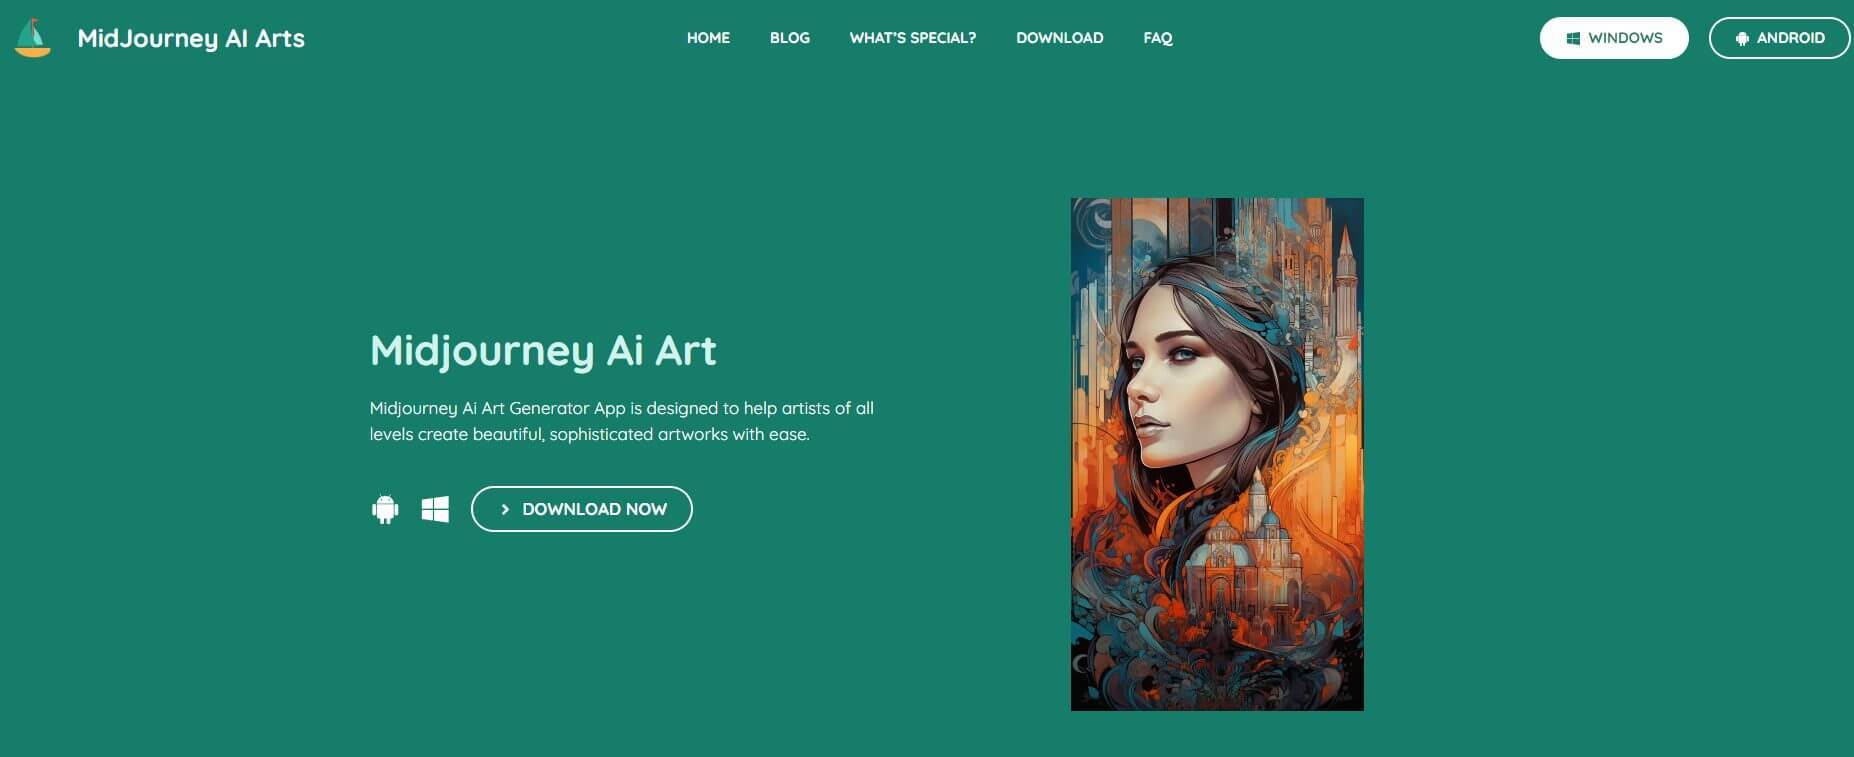
Another thing to consider is that Midjourney used to offer a free trial of 25 image generations.
However, it seems you now have to pay for a membership to generate images. Memberships start from $10 (monthly) for the basic subscription and increase to $120 for the most expensive plan.

Prompting and Image Quality
Let’s get back to the images you can generate on this platform. After you register, you’ll find yourself in the Discord channel.
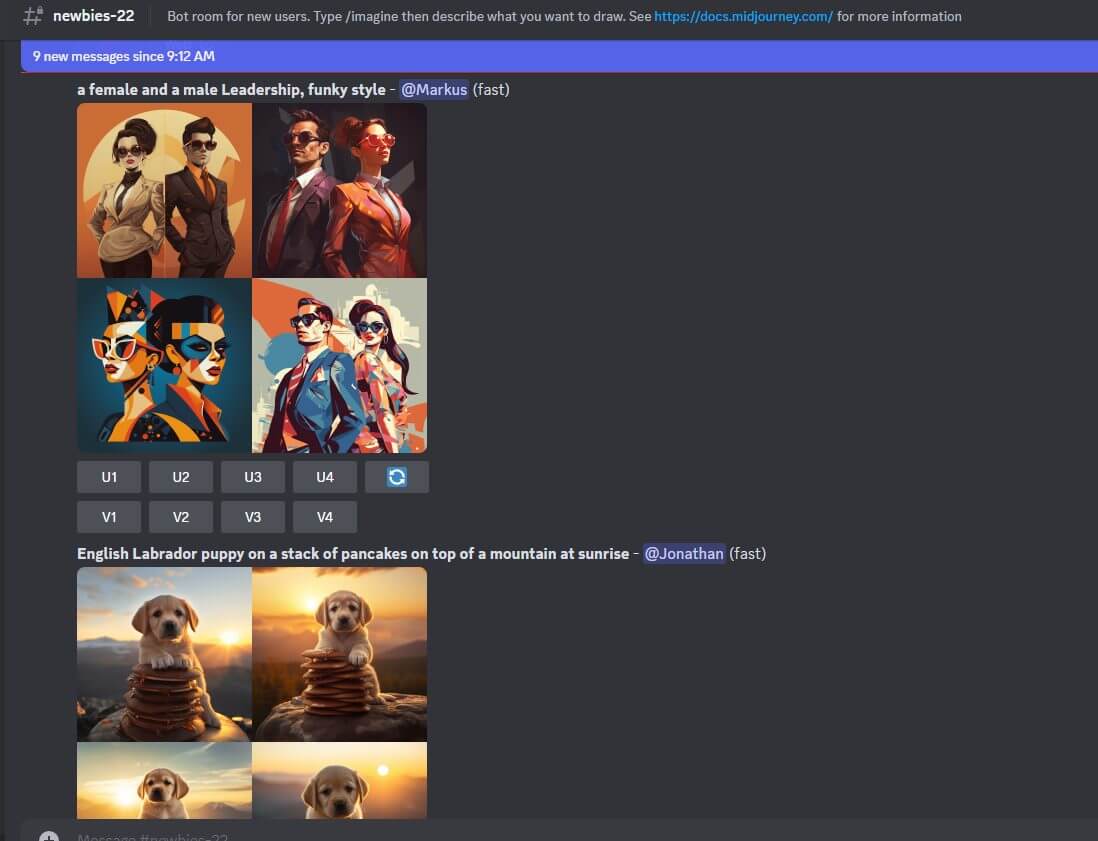
There, type /imagine to bring up the prompt menu. You can then create whatever image you desire by typing your prompt.
After Midjourney creates your images, you have a few options:
- Create variations of one of the images
- Scale one of the images
- Type in another prompt
Here’s a quick breakdown of these options:
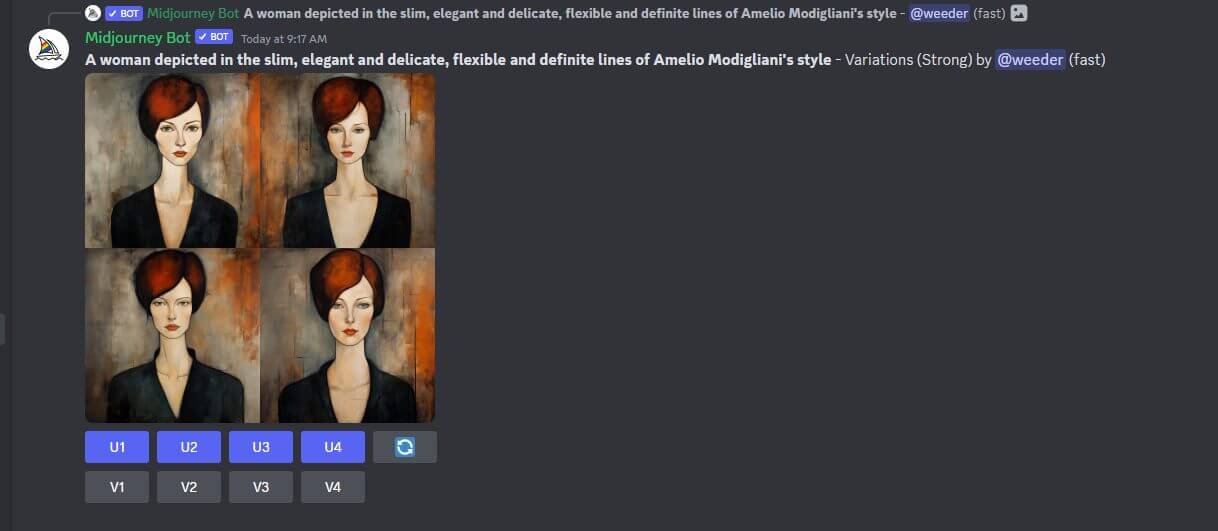
You upscale your images by clicking the relevant U button (U for upscale) underneath the generated picture. This number relates to the image you want to scale.
The same logic applies to creating variations of an image. Instead of U, just hit the relevant V button.
Alternatively, type in /imagine to get started with a new prompt.
A note on scaling
Not all AI image generators offer the option of scaling images (or upscaling as it’s known in MidJourney).
Upscaling is crucial if you plan on using the generated images on mediums that require more resolution and clarity.
Such situations include:
- printing images in magazines
- billboards
- other physical media.
Midjourney makes it easy to scale your images with just one click. This means you won’t need to pay extra for a third-party tool.
Other MidJourney considerations
Similar to other AI image tools, there are no preset templates. You have to use your prompt to guide Midjourneyl to create the image you want.
With a basic membership, you’re also in the same Discord channel as others generating their own images.
This is good and bad.
It’s good to get collective inspiration from others generating online images. It gives you ideas you can try out there and then to make your image output better.
At the same time, you sometimes have to scroll up to get back to your image (as the screen refreshes when new outputs—by other members—happen).
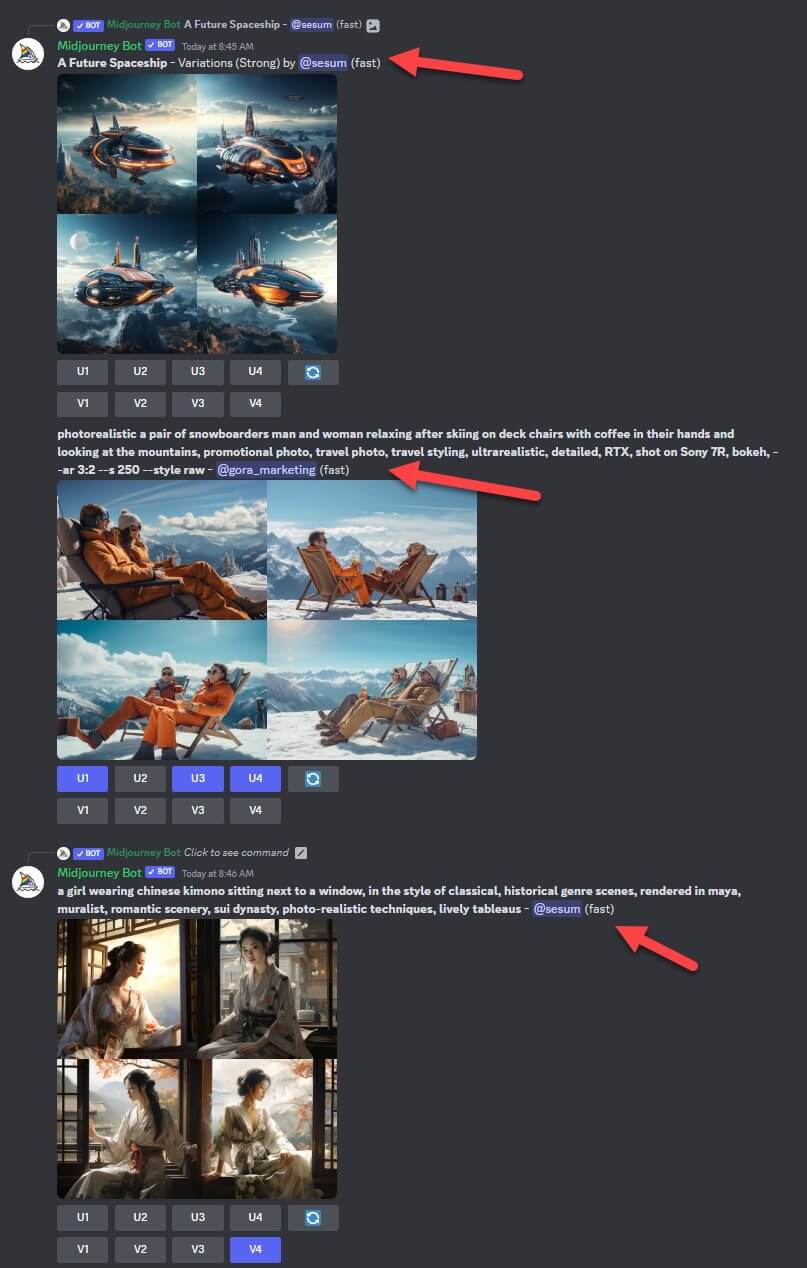
At the same time, others can also see what you’re creating. They’re also free to use your prompts for their own art.
This open environment may inadvertently lead to content overlap and make your content less unique. While this might not be a major concern for casual users, professional artists may want to consider this before using MidJourney
Midjourney Case study
Baskin Robbins is a well-known name in the ice cream industry. They recently caught the attention of many through their unique marketing campaign.
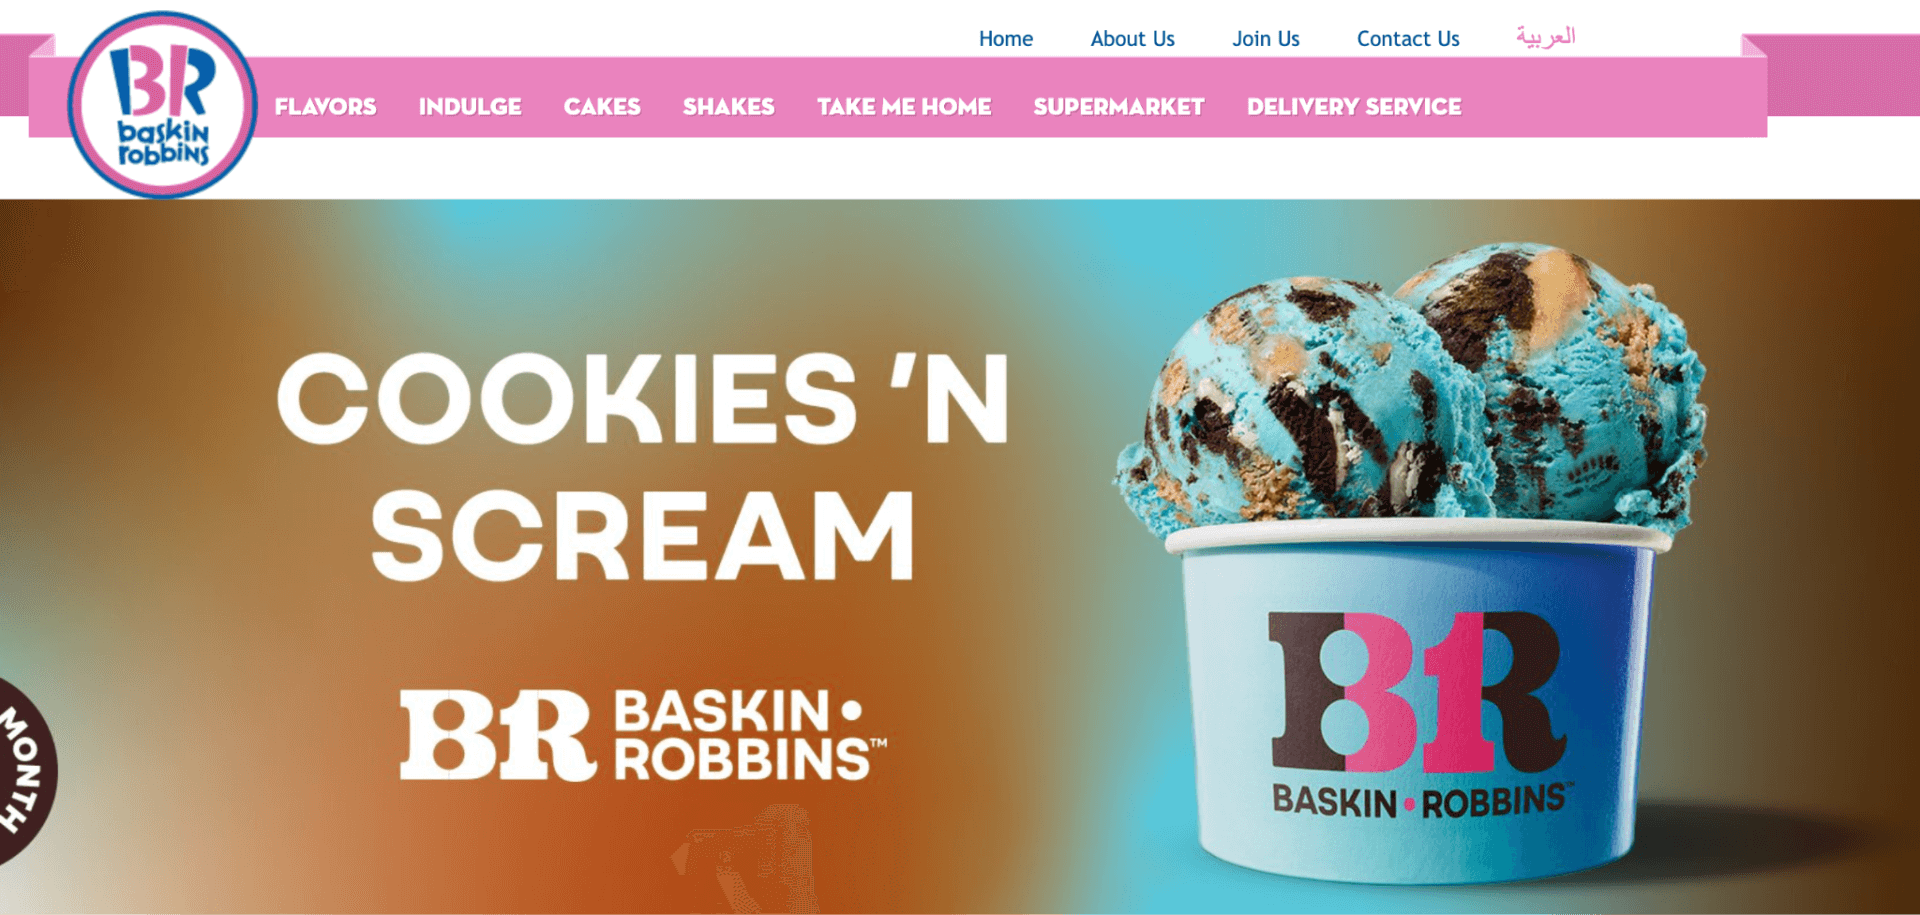
What set this campaign apart was that the images used were not created by a human artist. Instead, the company employed an AI artist who used Midjourney for the campaign.
In a nutshell, the campaign featured AI images of a variety of enticing flavors, including Unicorn Sundae, Mermaid Sundae, Caramel Milk Cake, and more.
Jasper
Best for preset image templates
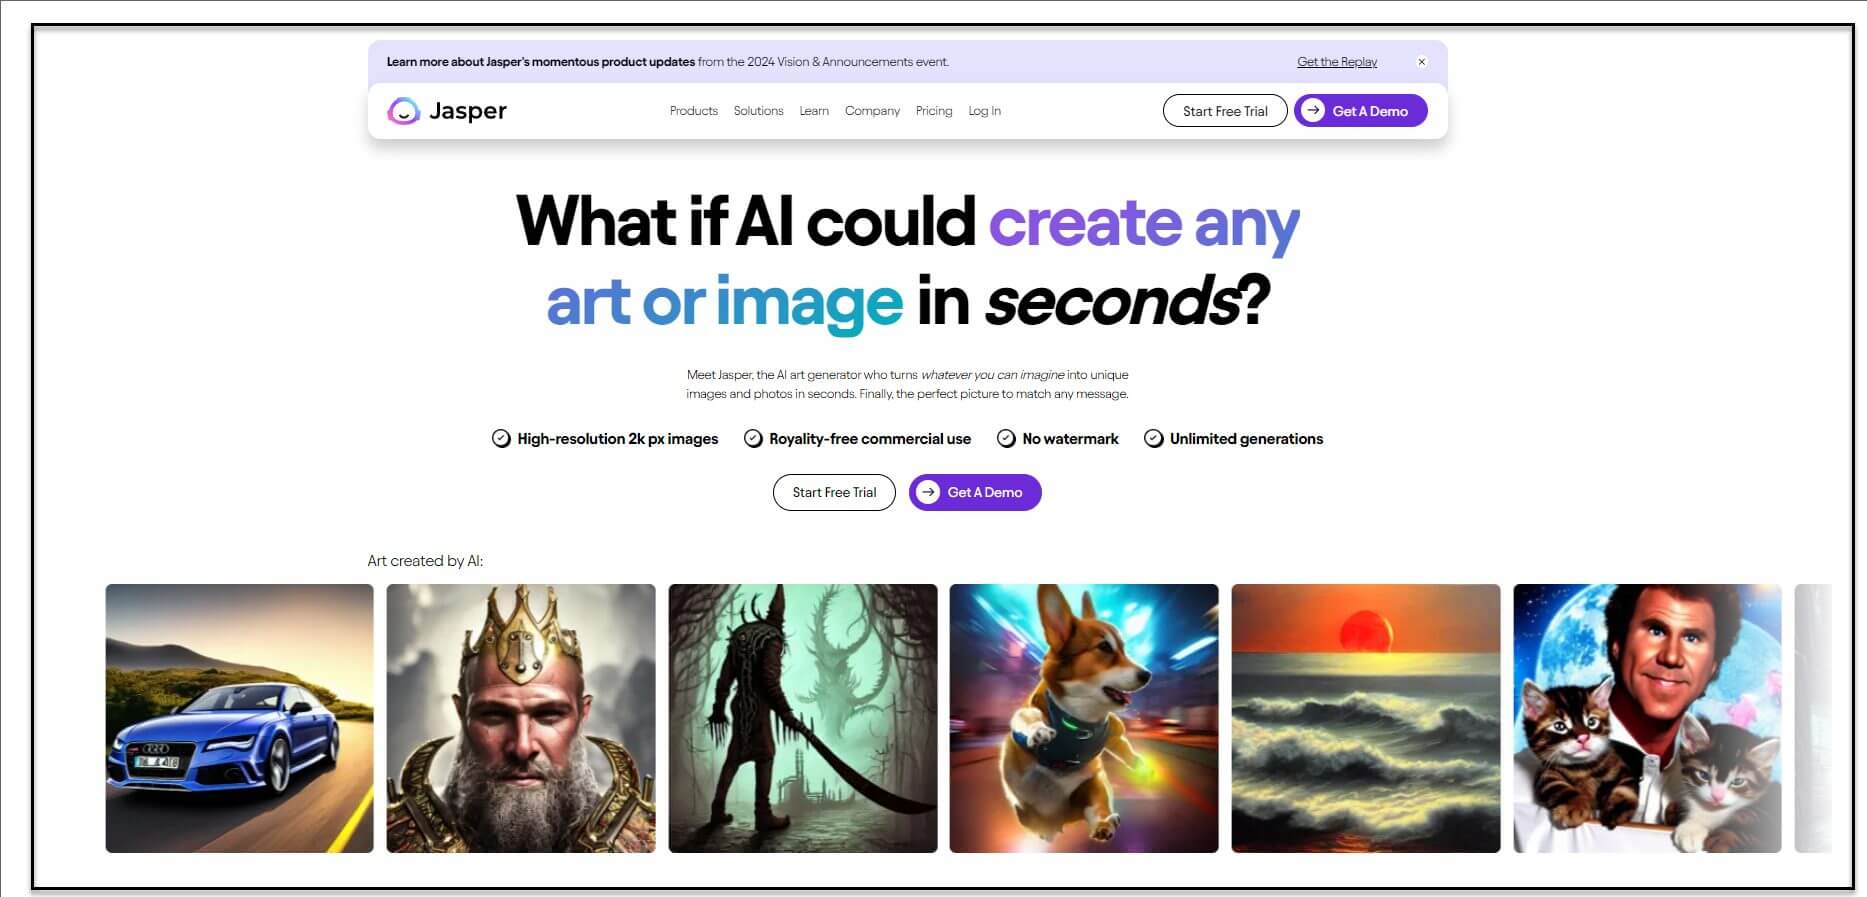
Jasper was the first AI automation tool I ever used. As it evolved, the team introduced more templates—both for text and image outputs. These templates help users create quality outputs within confined limits.
Is this good or bad?
Well…it depends. These templates could limit the creative flexibility AI artists have. At the same time, they also make the process easier, faster, and more efficient when developing images within a specific category.
Sidenote: Want to do away with templates? There’s still a freeform version you can use for image inputs. Jasper also contains a prompt improver with this freeform version. This helps make your prompt better without much limitation on what you create.
Using preset templates
Getting back to the templates that come with Jasper. At the moment, these are the ones available:
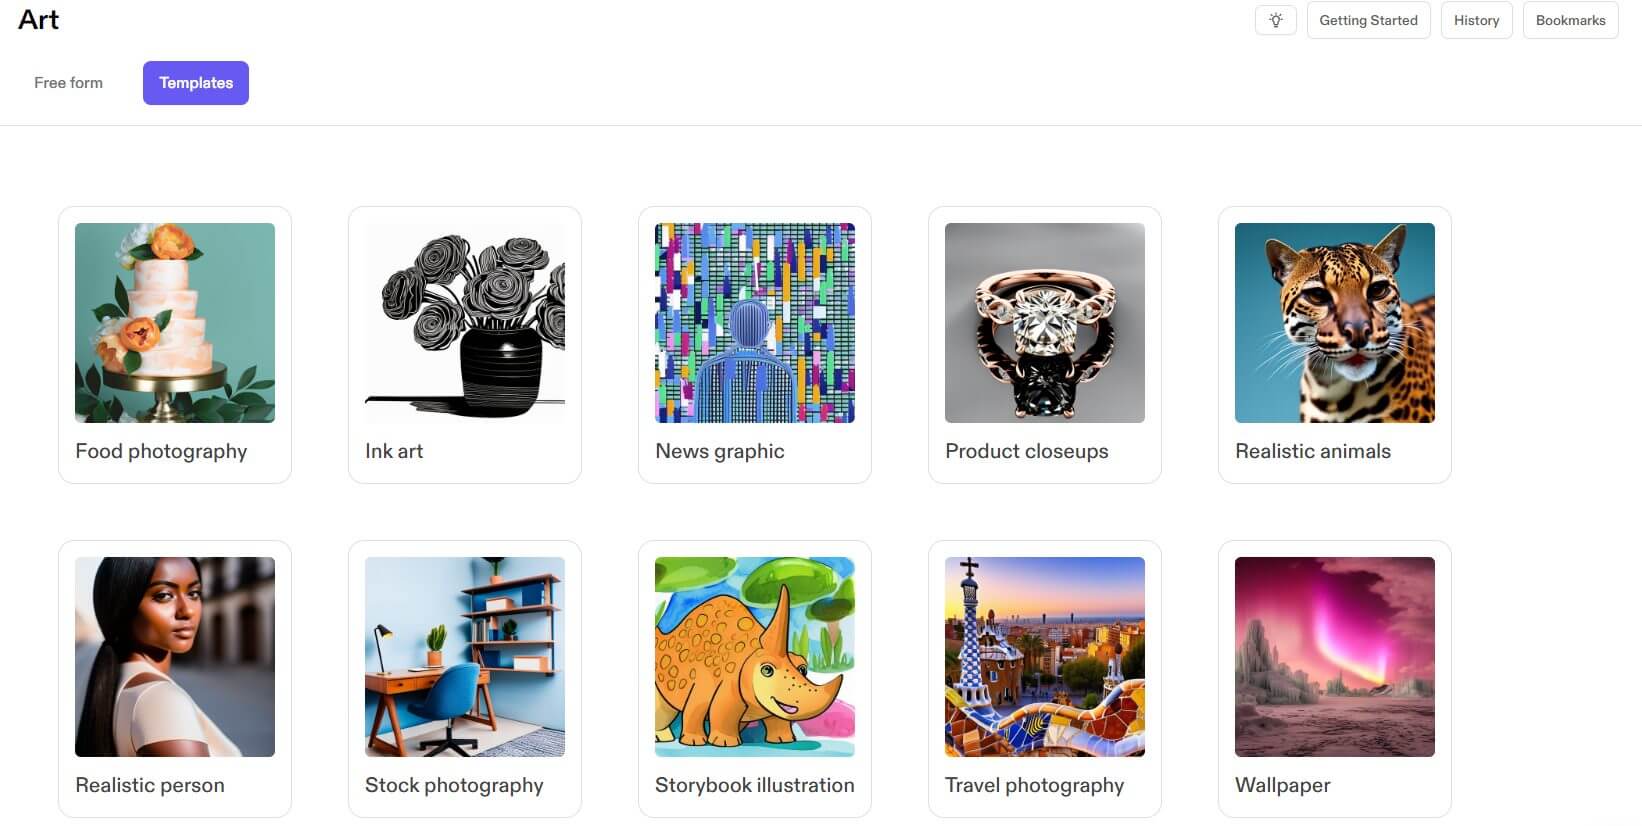
- Food photography
- Ink art
- News graphic
- Product closeups
- Realistic animals
- Realistic person
- Stock photography
- Storybook illustration
- Travel photography
- Wallpaper
This provides you with plenty of use cases.
In terms of the output quality, Jasper is good. However, it’s nothing to write home about compared to the other tools. That’s not to say the images are bad quality. It’s just that the other tools are super good.
While I still use Jasper when I want to compare image outputs, I use it less and less. Even though I find this unfortunate (I must admit I have a bit of a soft spot for the tool—it being the first one that really got me into AI), the other tools are better in terms of AI image creation.
So why am I mentioning Jasper in this article?
I believe the above templates make it easier to create outputs. By limiting choices, the user can select a template and get an output—without getting lost in the weeds.
Template Examples
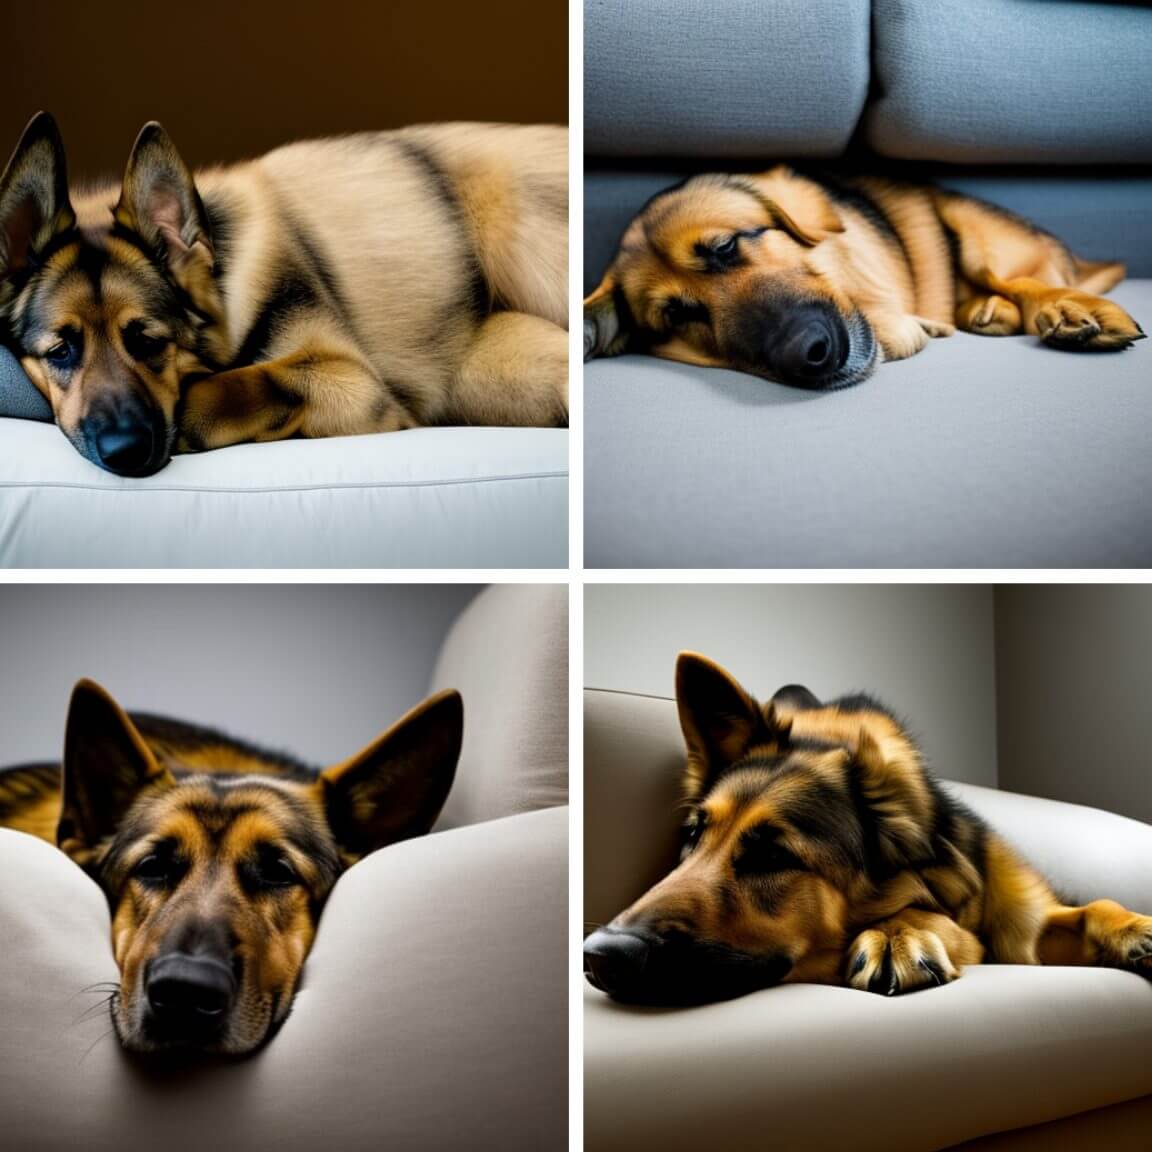
Here’s an example of a basic prompt: a german shepherd sleeping on a sofa
Here are the outputs:
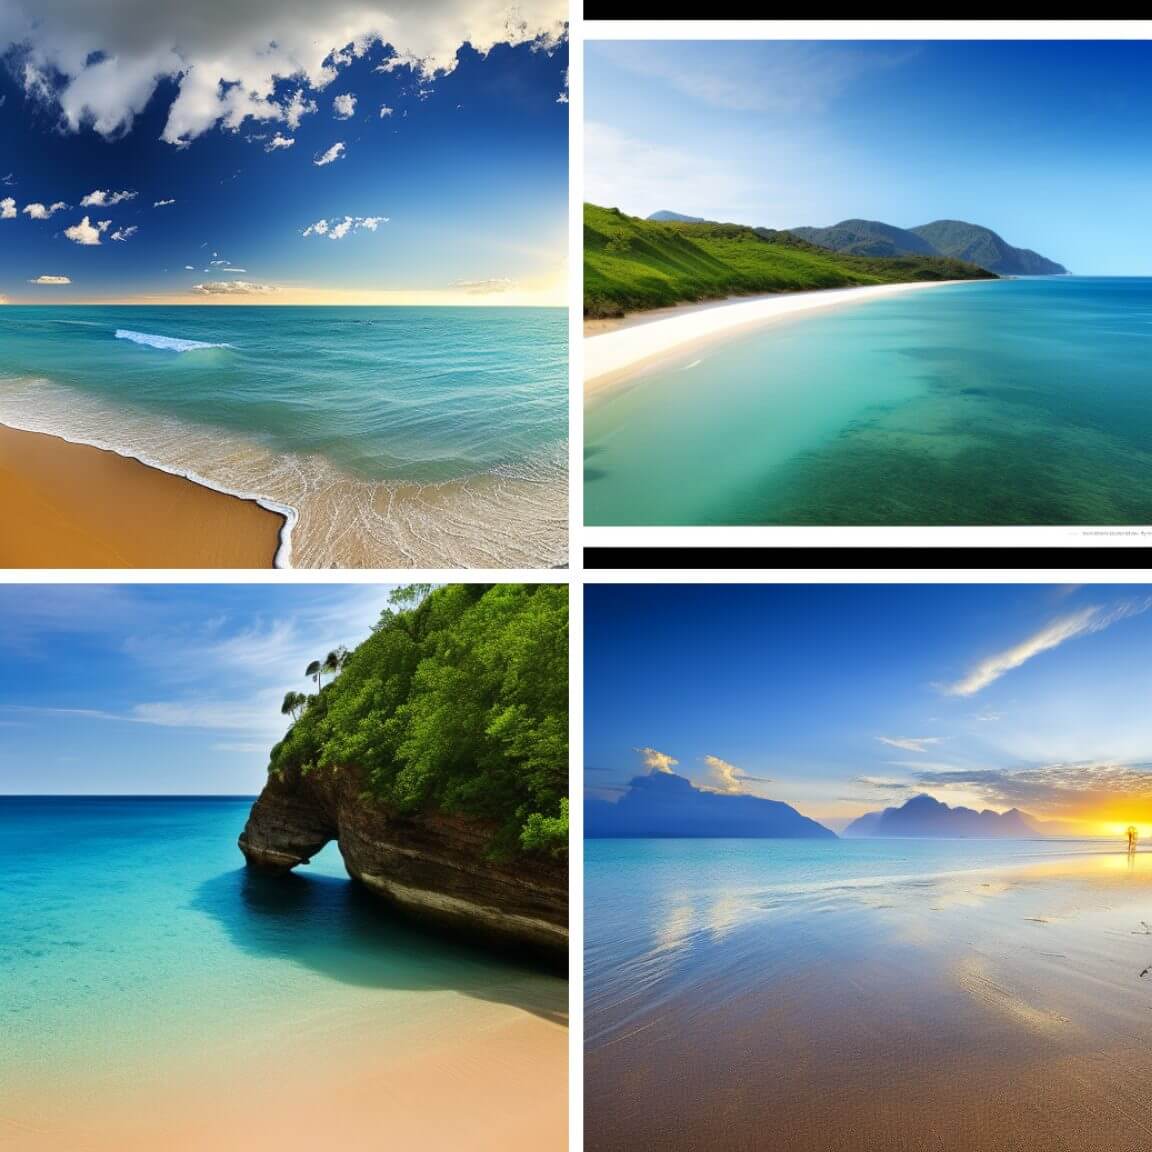
Here are the outputs from the wallpaper templates, specifically a beautiful beach landscape.
Also worth mentioning are the options within the freeform section.
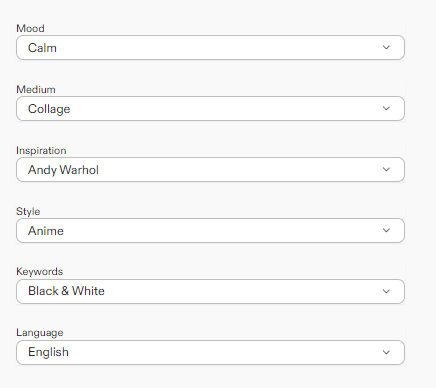
Again, choosing from a limited set of choices makes it easier to think through what you’re trying to accomplish. You can also upload an image and get Jasper to model its output based on this.
Regarding pricing, both text and image creation are included with a Jasper membership.
The basic level (Jasper Creator) helps you create content all over the web. Starting at $49 a month, you can access all the Jasper templates and features and get Surfer SEO integration—which is great for SEO. There’s a $125 monthly plan for teams that need more and beyond that, Jasper also offers a custom option.
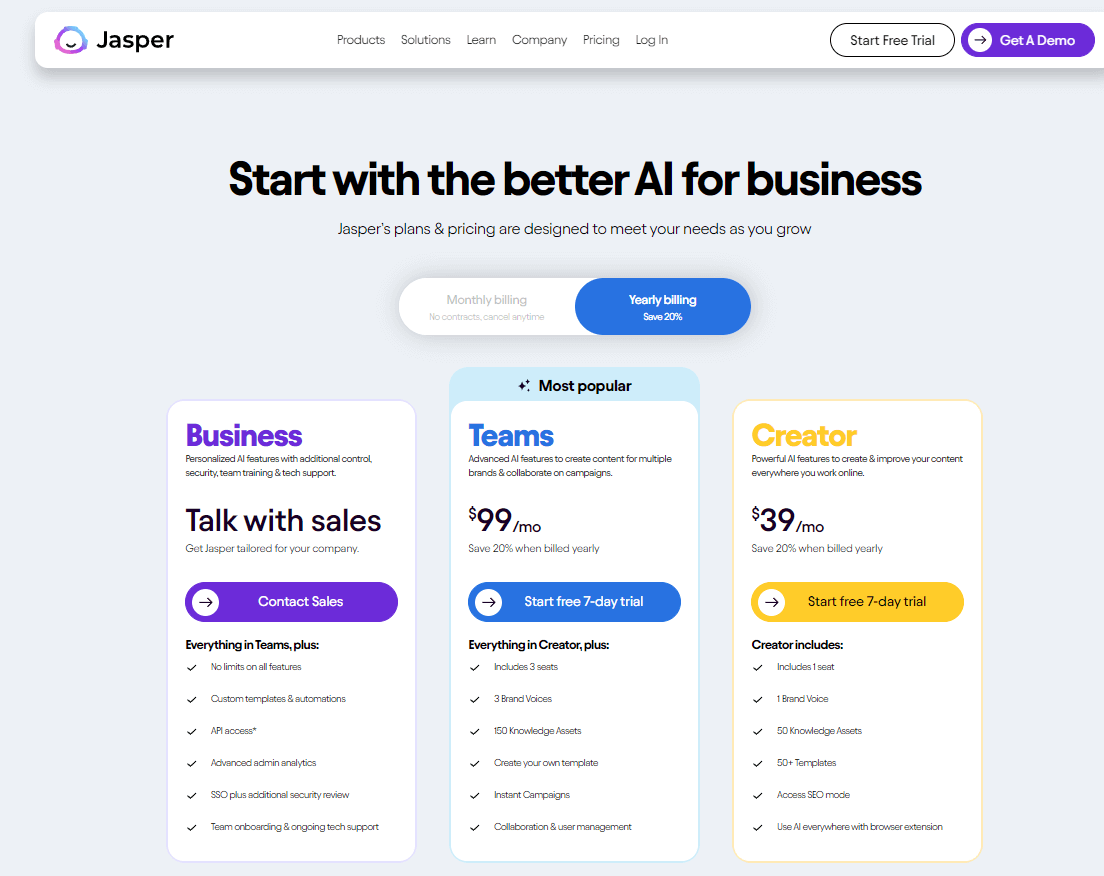
Also with Jasper, you can opt for a free trial to test its art capabilities (along with other features of interest).
Getting the best quality outputs
Now that you know which tools I recommend—along with their capabilities and limitations—let’s discuss how to get the most out of your chosen one.
Defining high-quality
Consider these questions:
- Are you looking to create images with realistic-looking colors or off-the-wall psychedelic ones?
- Is the emphasis on sharpness, clarity, and detail? Or is it more about giving a soft feel to the images?
- Would you like to create a humorous tone or a serious one?
Before choosing your tool, think about your target audience, your brand voice, and the kind of visuals that would best capture them.
Defining high quality is highly subjective, so taking the time to consider what makes an image so (and what doesn’t) should help you decide which AI image tool to go with.
The importance of (the right) prompts
A quick Google search can give you LOTS of prompts online. Most promise to help you build the perfect image. Here’s one of the best ones I’ve come across:
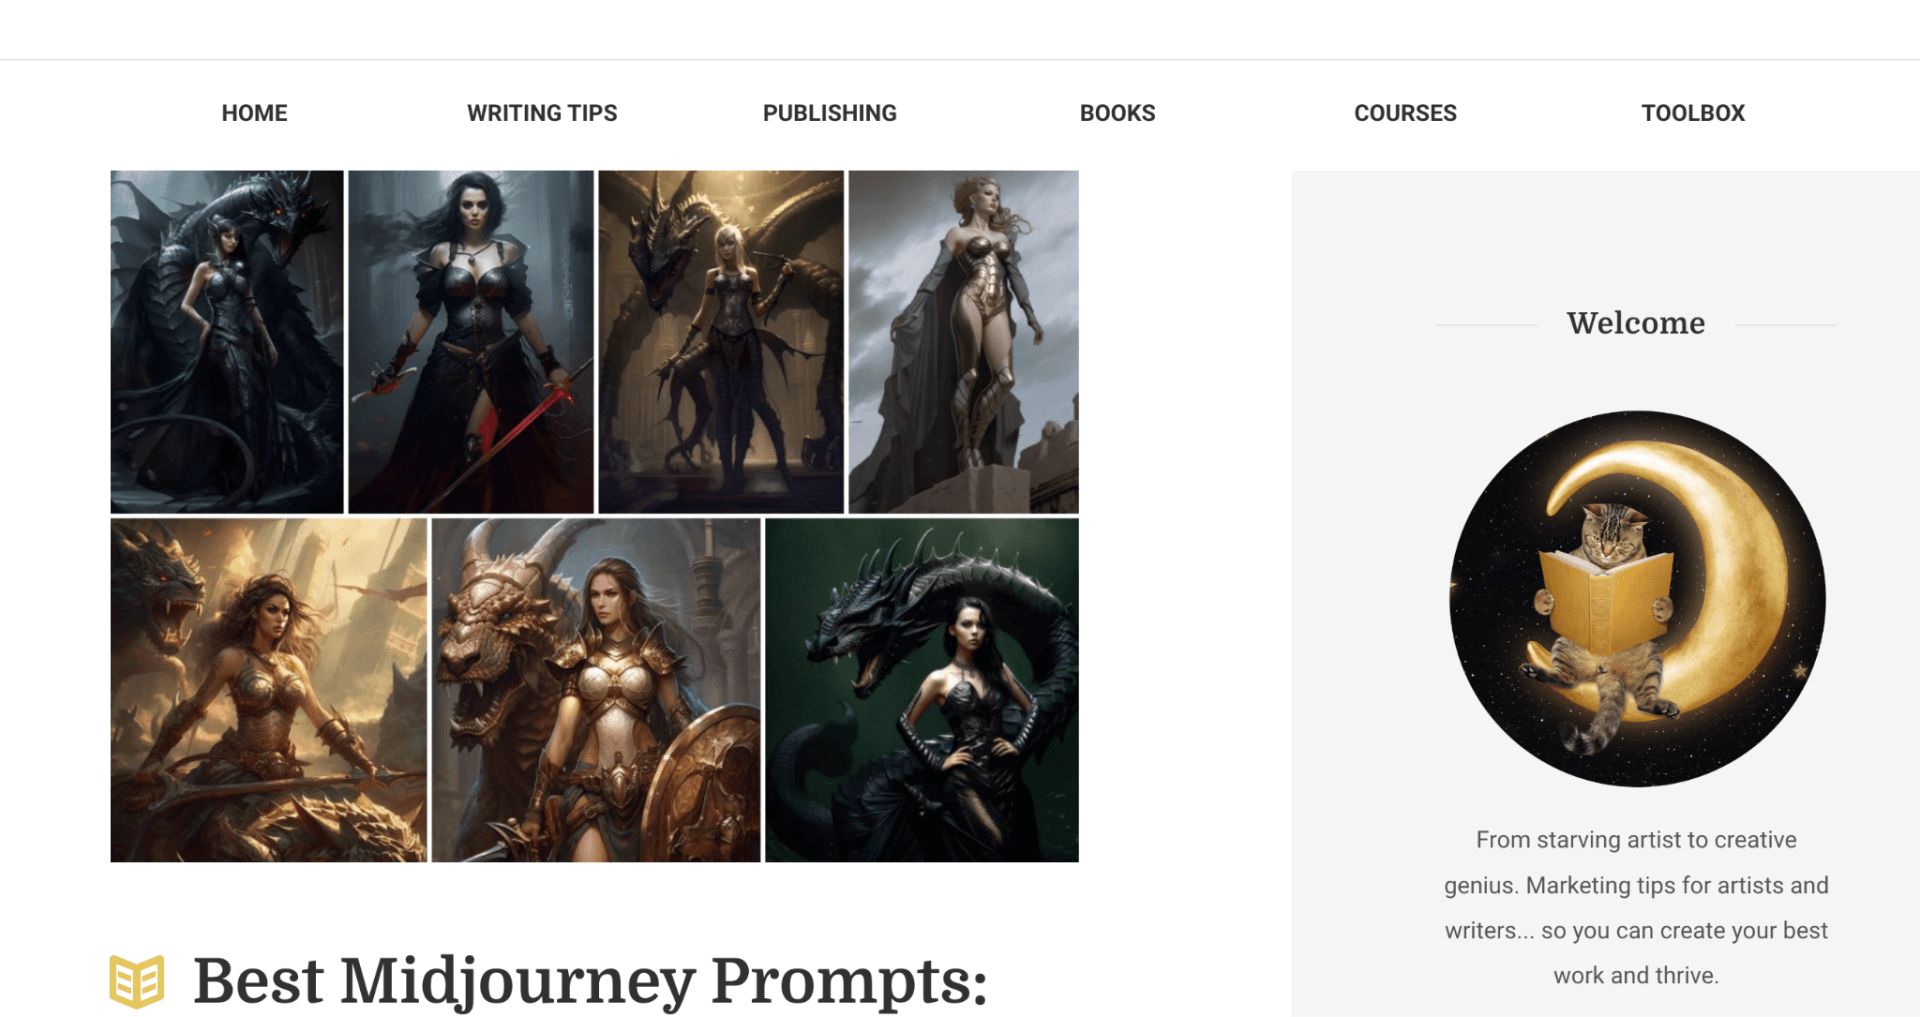
Image credit: https://www.creativindie.com
It contains 600+ prompts, ideas, styles (and more) you can use.
However, I still think it isn’t totally necessary. At best, it’s overkill.
Instead, I suggest being as straightforward as you can in the prompts you use. Then, improve them and iterate them to get to the output you want.
If you must drill down and improve your outputs on a marginal level, a sheet like the one linked above might come in handy.
With that said, let’s dive deeper into the concept of prompts.
Having an ‘MVP prompt’
If you already have a crystal-clear vision of the image you want to create, feel free to skip this section.
A minimum viable product (MVP) prompt is a concept businesses use when launching a product. It’s the simplest version of the product that allows the team to test the idea and get customer feedback.
Using this same concept when creating your images helps you point the AI image tool in the right direction.
How do you do this? Create an initial prompt that’s concise, as narrow as possible, and contains only the essential elements. At the same time, don’t get too bogged down with giving super-specific details.
For example, say you want to create an image for a blog post about ‘healthy eating habits’.
Your MVP prompt might look like this: Healthy eating habits – Eating healthy food on a plate with fresh produce in the background.
Testing this out, I get this output:
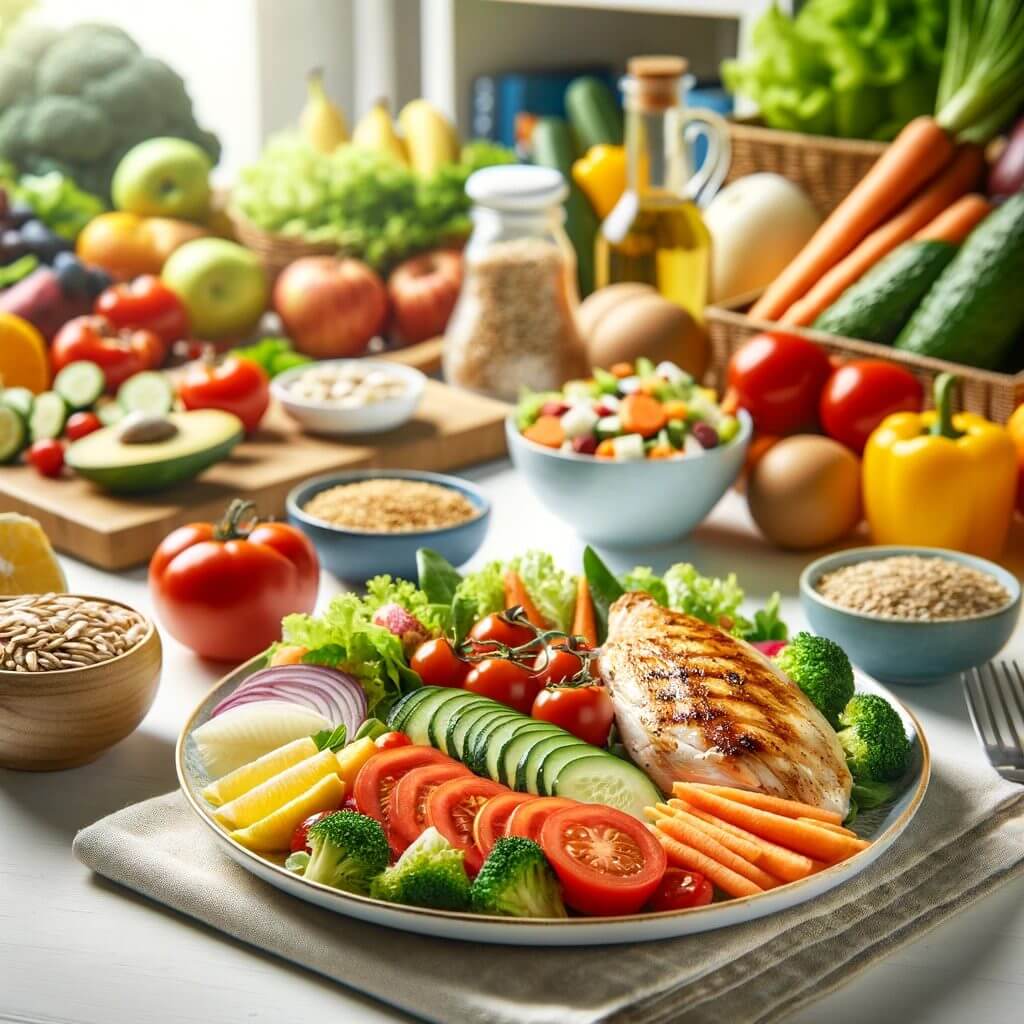
Even with such a basic prompt, the result is quite impressive.
Including basic elements of a great prompt
Let’s say we want to get more specific. I suggest including more elements to make the prompt clue the AI in on what you’re looking for.
This includes elements like colors, objects, and words that help convey the image’s tone.
Building on the example above, adding in more keywords to convey the brand’s voice can look like this:
Healthy eating habits – Eating nutritious and delicious food on a plate with colorful fruits and vegetables in the background. There are multiple people from different backgrounds enjoying a meal together. Fruits and vegetables include apples, oranges, carrots, and bell peppers. The image should also evoke feelings of joy and community; the people in the photo should be smiling as they eat the nutritious food.
Here’s the result:
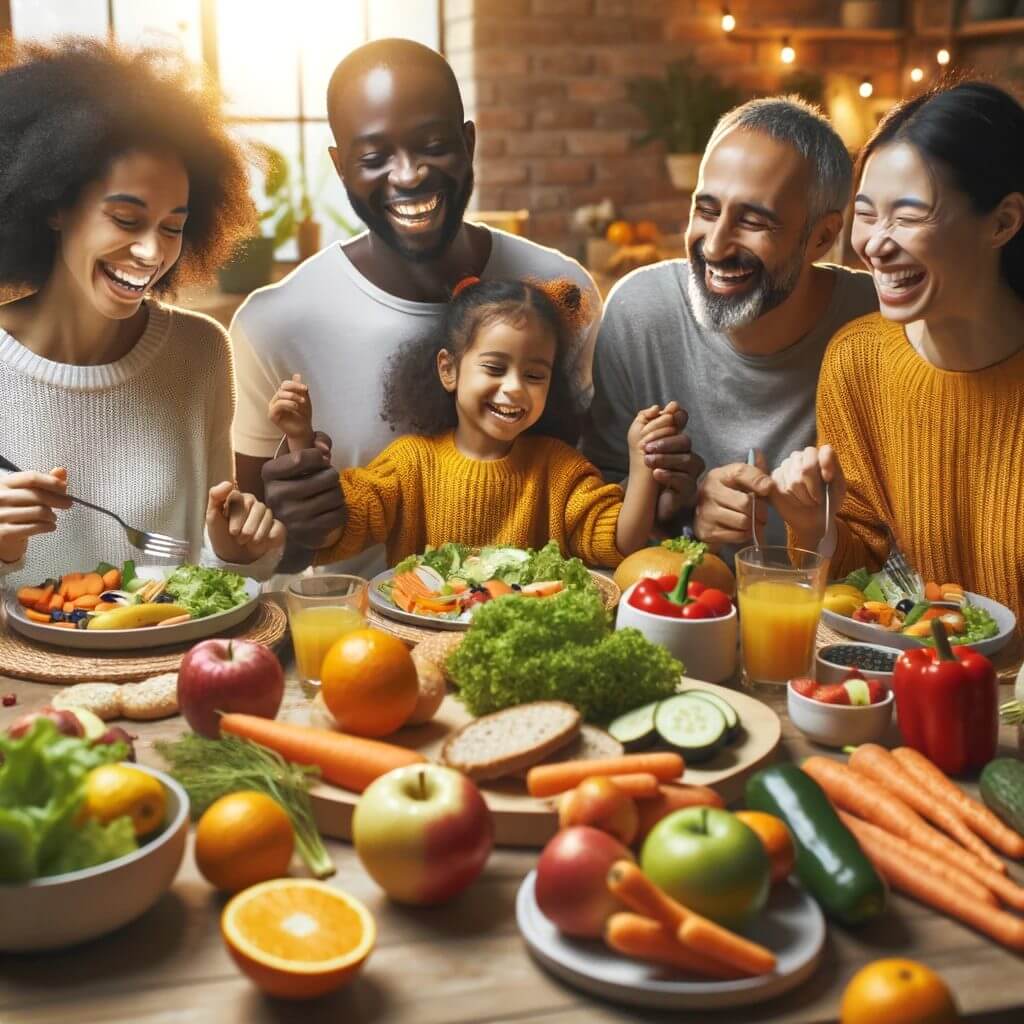
While I do think these people are enjoying their fruits and veggies a little too much, I’m sure you get the idea.
Really refining prompts
Using a tool like Midjourney allows you to get specific with your output by using additional parameters. These are preset ways you can communicate with the platform to get the exact result you want. Here are some specific examples.
Aspect Ratios
Want different output dimensions? Consider the aspect ratio you want Midjourney to produce images in.
For example, including…
- –ar 2:3
- –ar 3:2
- –ar 9:16 or
- –ar 16:9
…after your prompt, changes the aspect ratio of your image.
Here’s what I mean by aspect ratios:
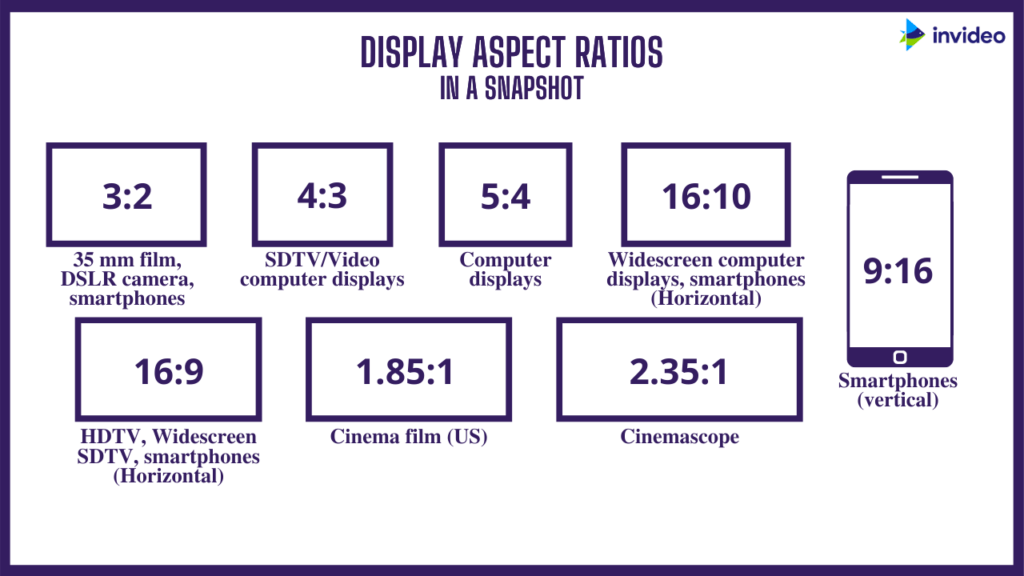
Image credit: https://collart.app/
If you’re posting on social media platforms favoring vertical formats (think Instagram & Facebook stories, reels, and Tiktoks) going for a 9:16 ratio is better.
Styles
Next, you can include specific styles you want. For example:
- Abstract Art
- Surreal Art
- Landscape Photography
- Portrait Photography
- Minimalism
Midjourney has plenty of image modes to help with this. For example, “Niji” mode is great for creating anime-style art.
Niji offers four vibrant styles of images:
- Cute
- Expressive
- Original
- Scenic
Here’s more information on the styles you can use in Midjourney.
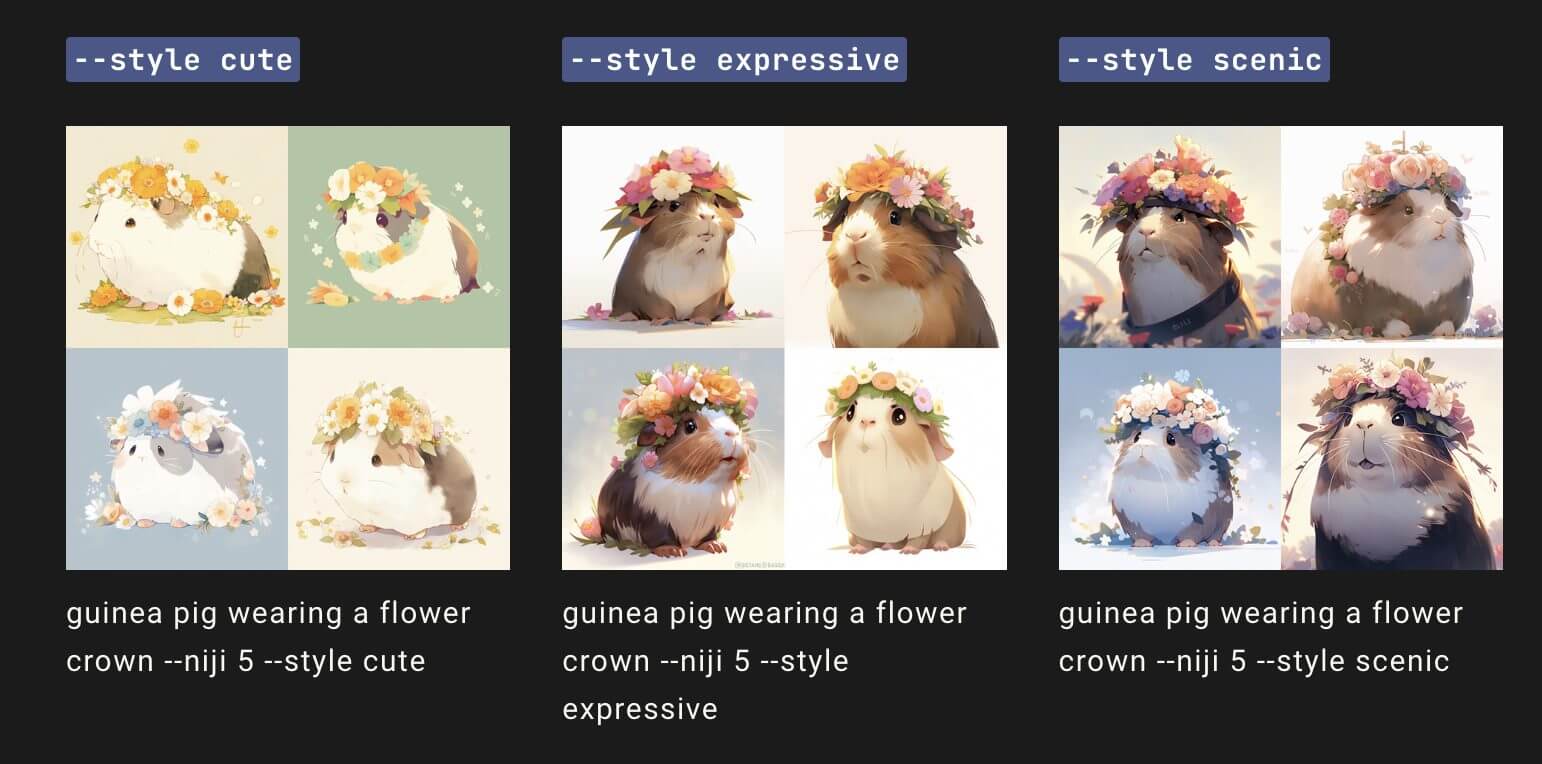
Image credit: https://docs.midjourney.com
Camera lenses
Playing with various camera lenses can also help you create unique visuals.
Here are a few examples using different camera lenses as inputs:
- Long exposures
- Reduced glare
- Macro still life
- Expansive landscapes
Here’s an example using the above image. As a reminder, this was the prompt:
Healthy eating habits – Eating nutritious and delicious food on a plate with colorful fruits and vegetables in the background. There are multiple people from different backgrounds enjoying a meal together. Fruits and vegetables include apples, oranges, carrots, and bell peppers. The image should also evoke feelings of joy and community; the people in the photo should be smiling as they eat the nutritious food.
For the first version of this test (I used ChatGPT), I included this additional comment at the end of the above prompt: Use a camera with long exposure.
Here’s the result:
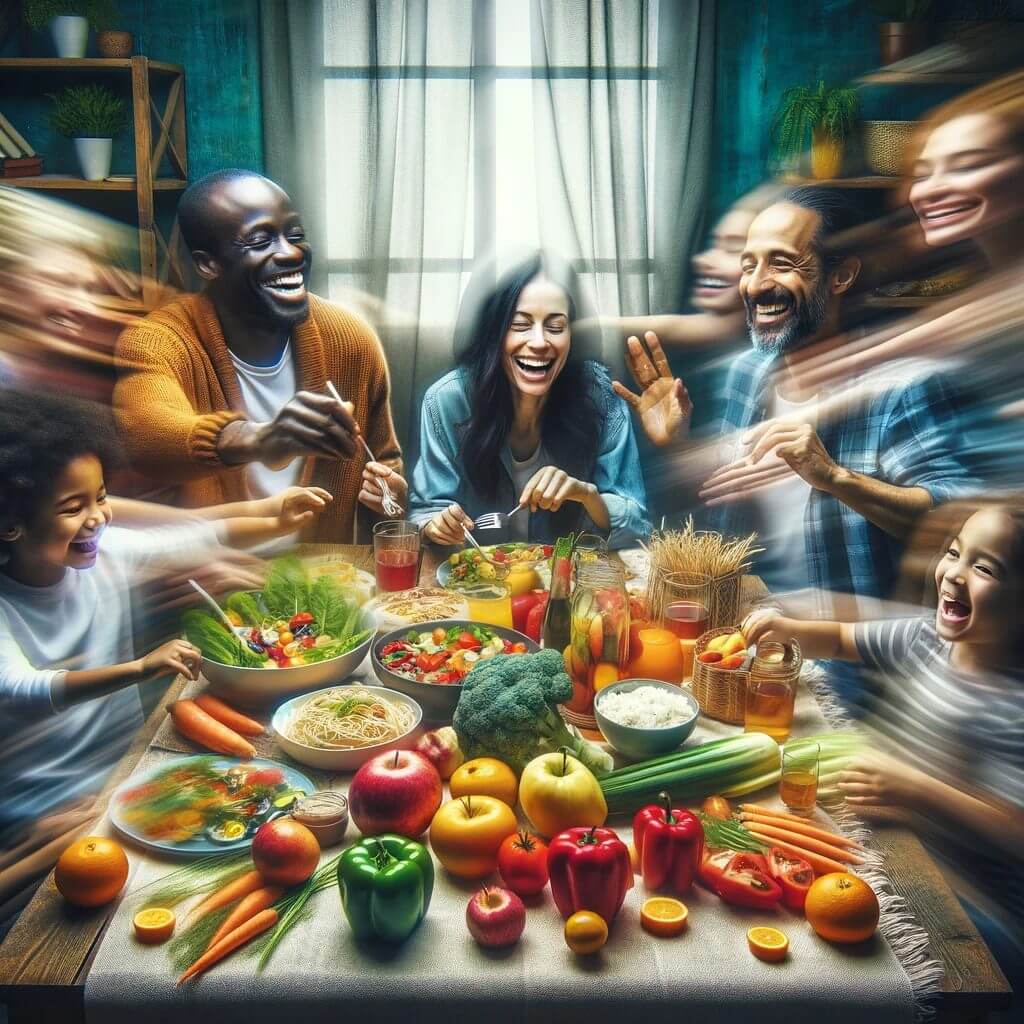
While not the best result, it is an accurate one. Long exposure is generally used in nightlife photography where the aim is to capture lots of motion in a single shot.
Using the same base prompt but with the following addition: Use a camera showing an expansive landscape for this picture.
I got this:
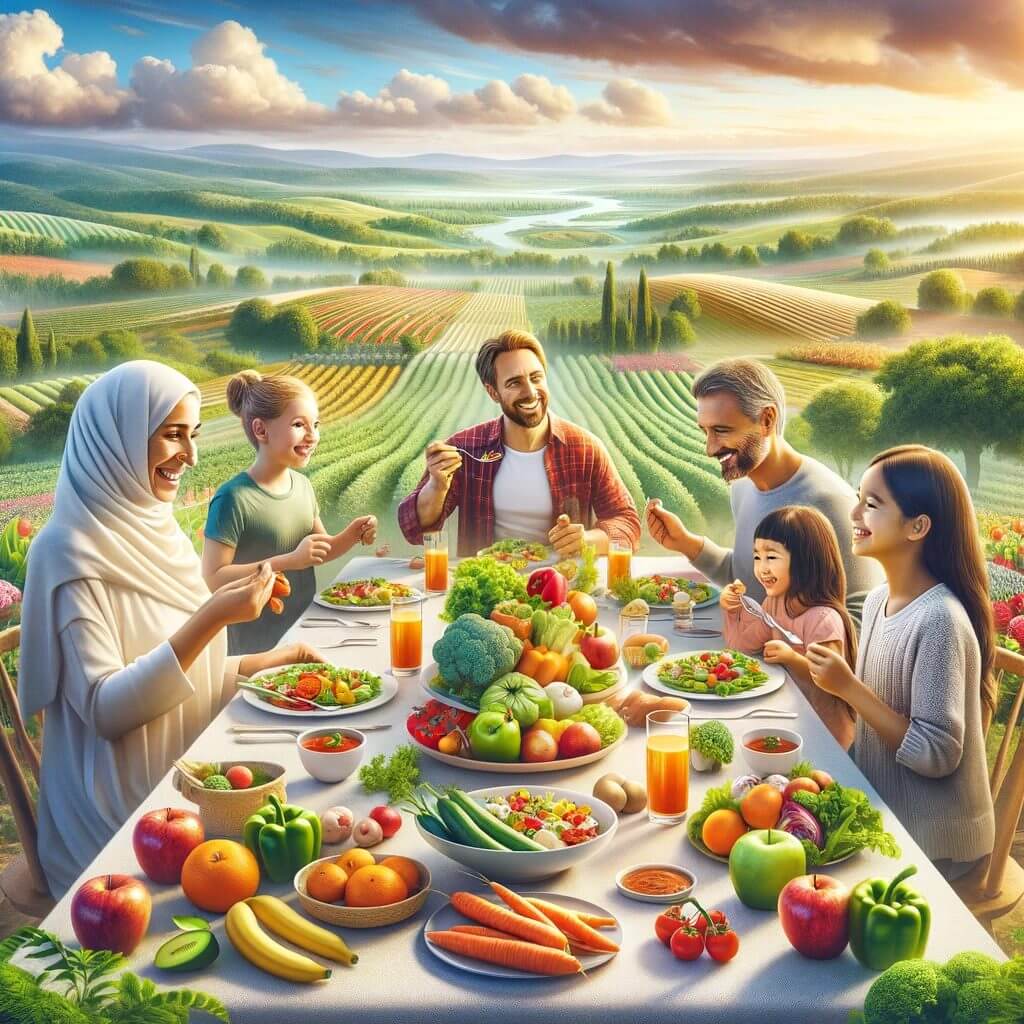
Same image concept but a totally different setting.
Artists
Modeling your AI art on the work of established artists can help you create the type of visuals you want.
Using the same input but including different artists gives a variety of results.
For instance, creating art based on the style of Pablo Picasso vs Vincent van Gogh will give you different results.
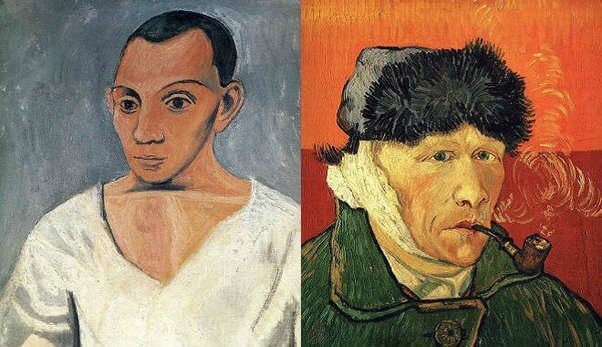
Image credit: https://www.quora.com/
Let’s start off with a prompt. Here’s the one I’ll use:
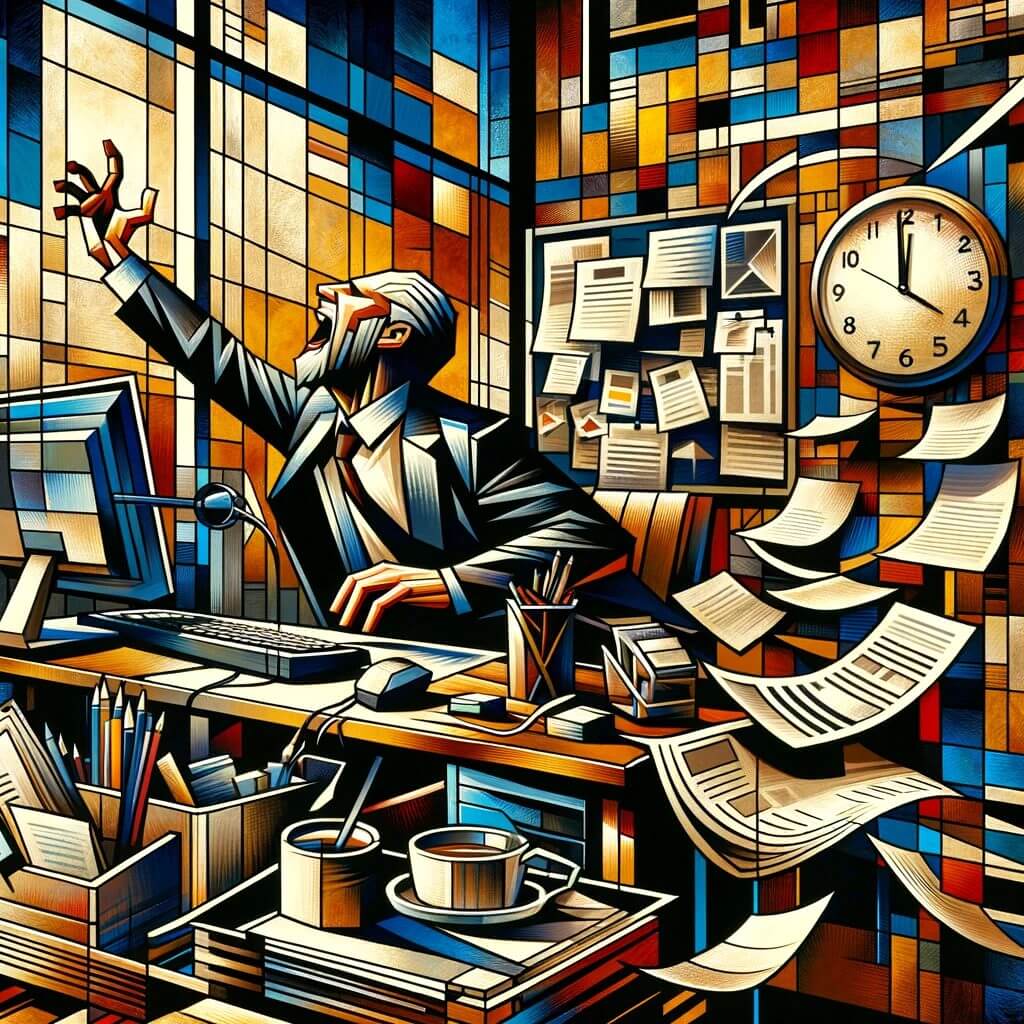
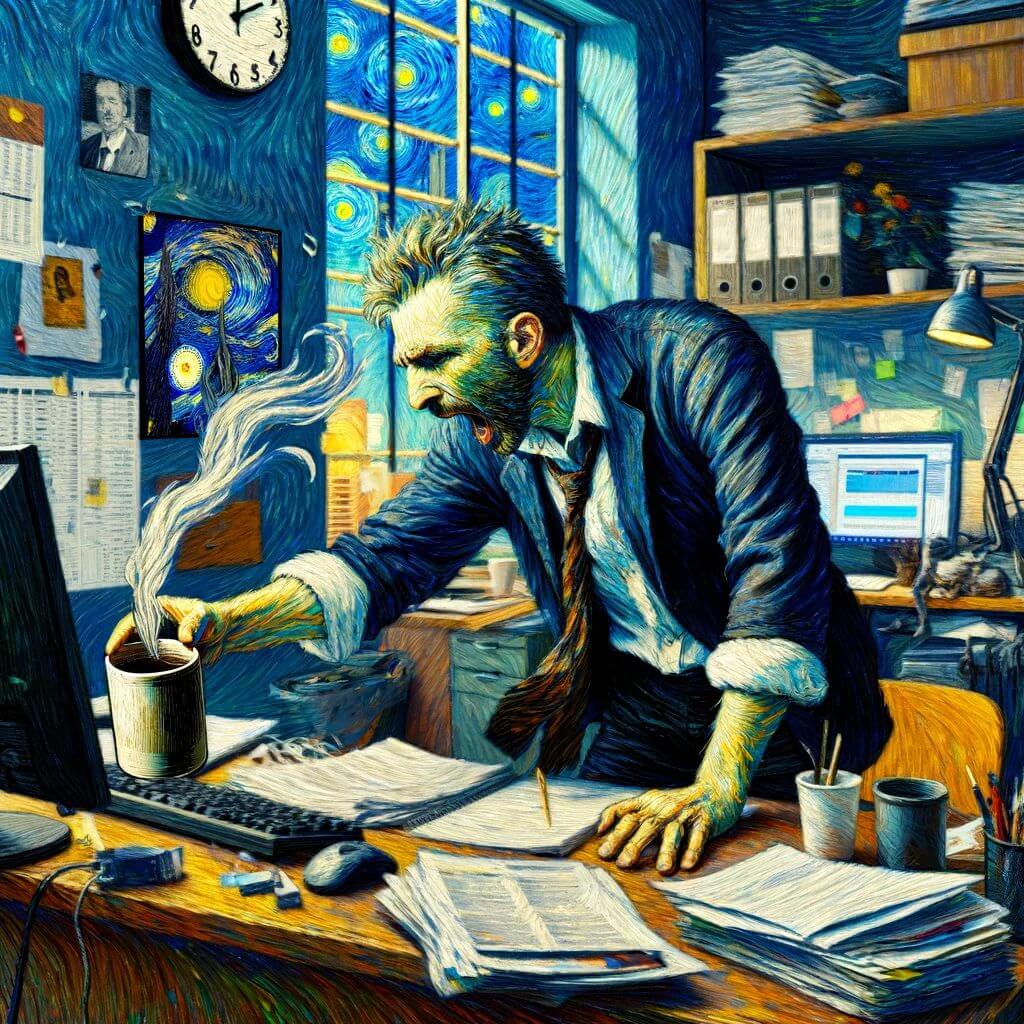
A vivid and detailed depiction of a person in an office environment, overwhelmed with a long list of tasks. This individual, a middle-aged man with an expression of determination mixed with fatigue, is reaching for his 10th cup of coffee. The scene is bustling with activity, showcasing a cluttered desk covered with papers, a computer displaying a long to-do list, and a clock showing late hours. The office background is filled with signs of a busy work environment, and the lighting is that of an office at night. This image captures the essence of perseverance and exhaustion in a modern work setting.
This is the output:
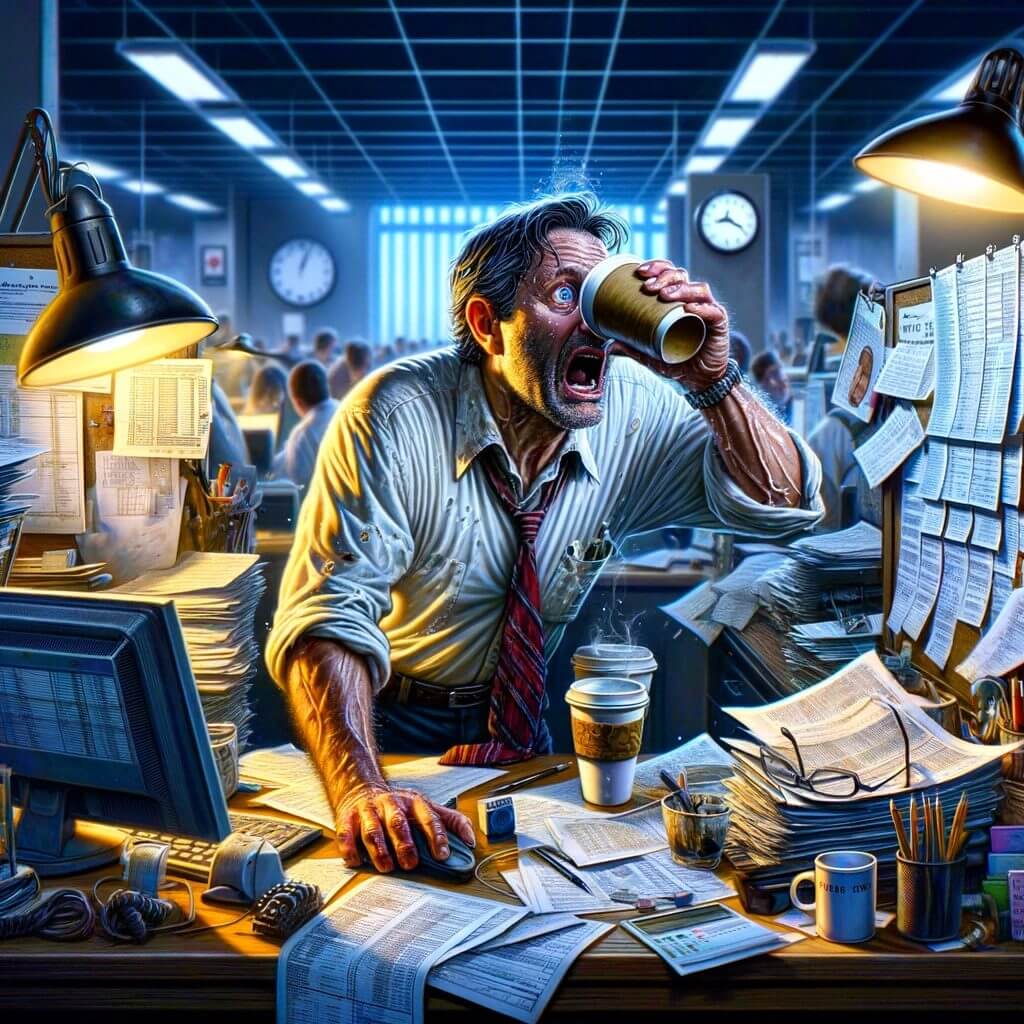
Let’s now add the following at the end of the prompt:
Create the image in the style of Pablo Picasso.
Here’s the result:
In the style of Vincent van Gogh, this looks as follows:
Free vs. paid tools
Pricing always plays a factor in choosing the right image-creation tool. Lots of free tools are available. Some produce good results, but most don’t.
Many also come with limited features and little control over the results.
With image creation, I feel paid tools provide better solutions compared to a free AI image generator counterpart. With that in mind, the above tools provide the best return for what you pay. You can also research other tools that come with a free version or free trial.
This can either be based on time (i.e., you can use the tool for x days) or outputs (i.e., you can generate x images). Both of these are great for testing purposes.
Modeling images
One final suggestion I have for getting the best quality output involves modeling your outputs.
ChatGPT and DallE are great for doing this as the platform (ChatGPT) offers additional features besides just image-based ones.
Here’s the basic process:
- Find an image you like online
- Download it
- Upload it to ChatGPT (Jasper also offers this feature)
- Ask the tool to describe what it sees in the image (You’ll have to skip this and the next step with Jasper)
- (Optional) Ask the tool to describe additional features that would make the image better
- Use the generated output as input to create your image.
Here’s a real-life example ChatGPT/ DallE example using an image I referenced before:
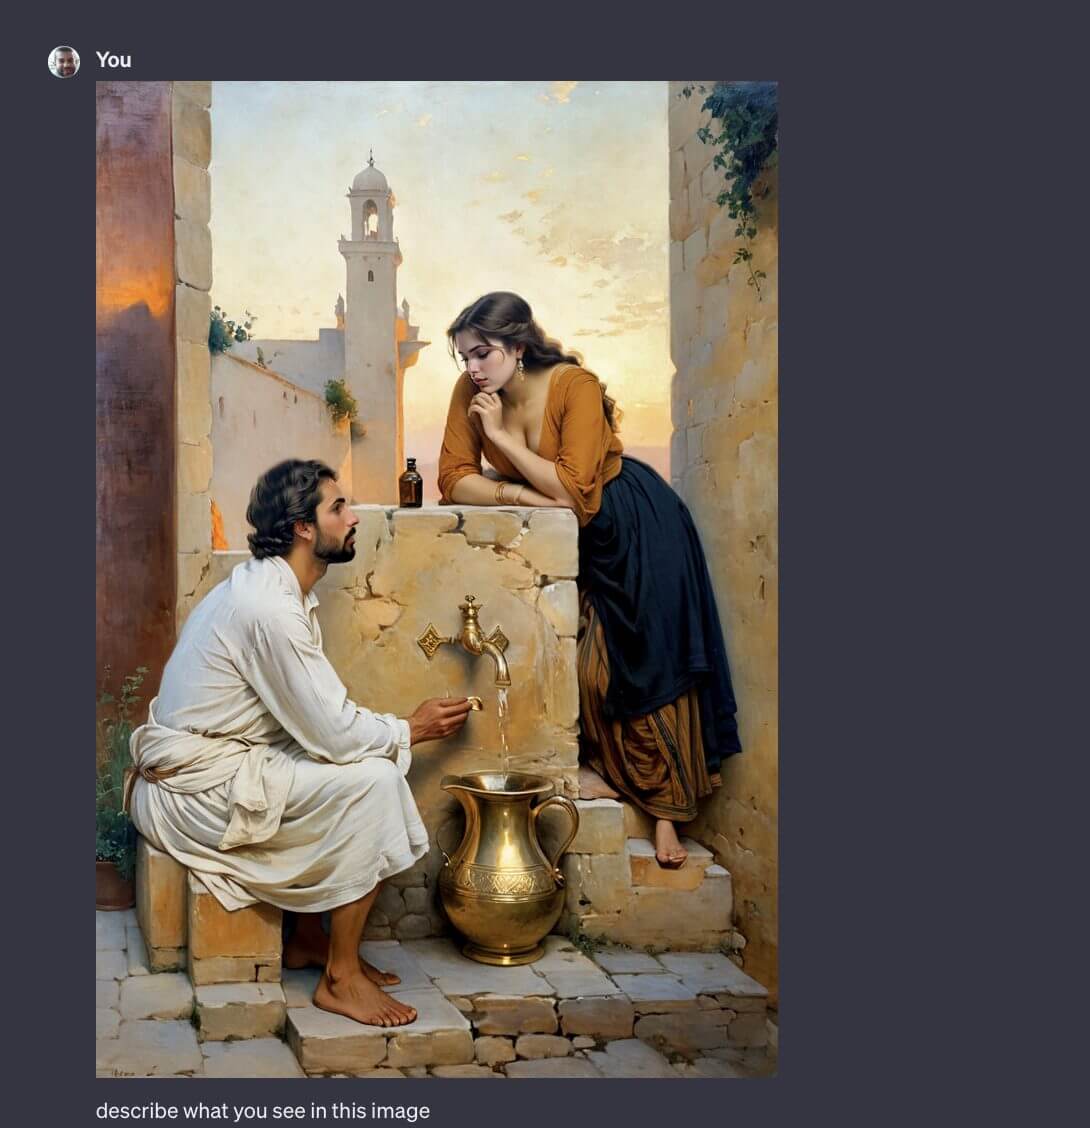
First, I downloaded the image and uploaded it into ChatGPT. I asked the platform to describe what’s in the image.
Here’s the output:
The image depicts a scene that appears to be set in a historical or perhaps biblical context. It shows two individuals, a man and a woman, near a water fountain made of stone. The man is sitting on a low wall or step, wearing white traditional clothing, and has a beard. He appears to be conversing with the woman or listening to her. The woman, standing above on the right, is leaning forward with her chin resting on her hand, looking thoughtfully at the man. She is wearing a mustard-colored blouse and a dark skirt. There is a large brass pitcher on the ground, and the man is holding a tap that is running water into a bowl. The background features the corner of a building and a tower with a dome, suggesting a Middle Eastern or Mediterranean setting. The lighting gives the impression of either dawn or dusk, creating a warm, serene atmosphere.
I asked this question:
If I were to use this output to create my own AI image prompt, how can I make this better?
This was the response:
To create a prompt that would result in a rich and detailed AI-generated image, you can expand upon the description by including more sensory details, the emotion conveyed by the subjects, and the atmosphere. Here is how you could elaborate the description:
“Create an image of a serene and contemplative scene set in a historic Middle Eastern town at sunset. The scene centers around an intricately designed stone water fountain. A man in traditional white attire with a neatly groomed beard is sitting on a low sandstone wall, engaging in a thoughtful conversation with a woman. He gently operates a brass tap, releasing a thin stream of water into a polished brass pitcher on the cobblestone ground. The woman, clad in a mustard-colored blouse with billowing sleeves and a dark ankle-length skirt, stands leaning on the stone edge of the fountain. Her pose is one of deep reflection, with her chin resting on the back of her hand, her elbow propped on the fountain, and her gaze intently focused on the man. The background features the warm hues of a setting sun casting soft light on a distant building adorned with a domed tower, suggesting a tranquil close to the day. The overall mood is one of peaceful dialogue and the beauty of simple, everyday moments.”
This prompt is descriptive and sets the scene, providing context for the AI to generate an image that is not only visually rich but also emotionally evocative.
I then asked ChatGPT to create an image based on this new prompt. This was the result:
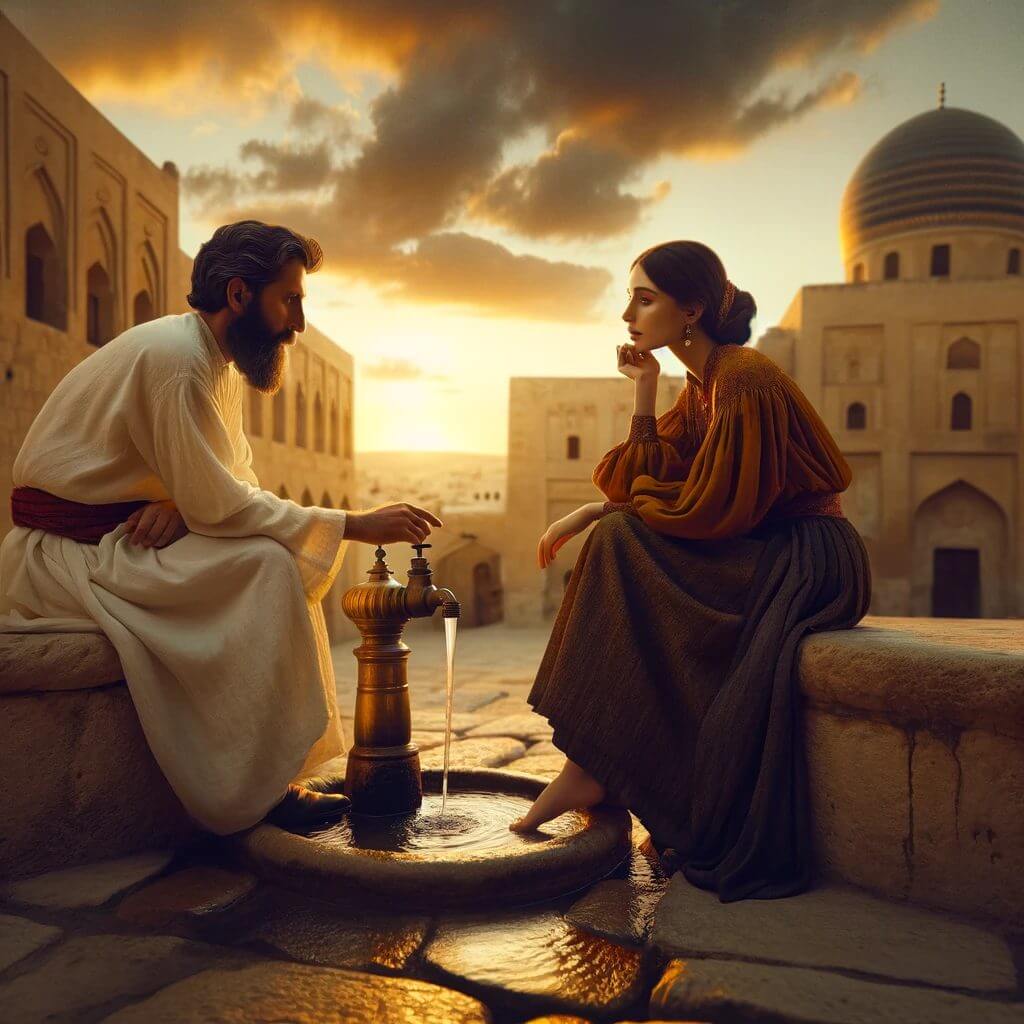
Not bad. I asked ChatGPT to make the image brighter. This is what happened:
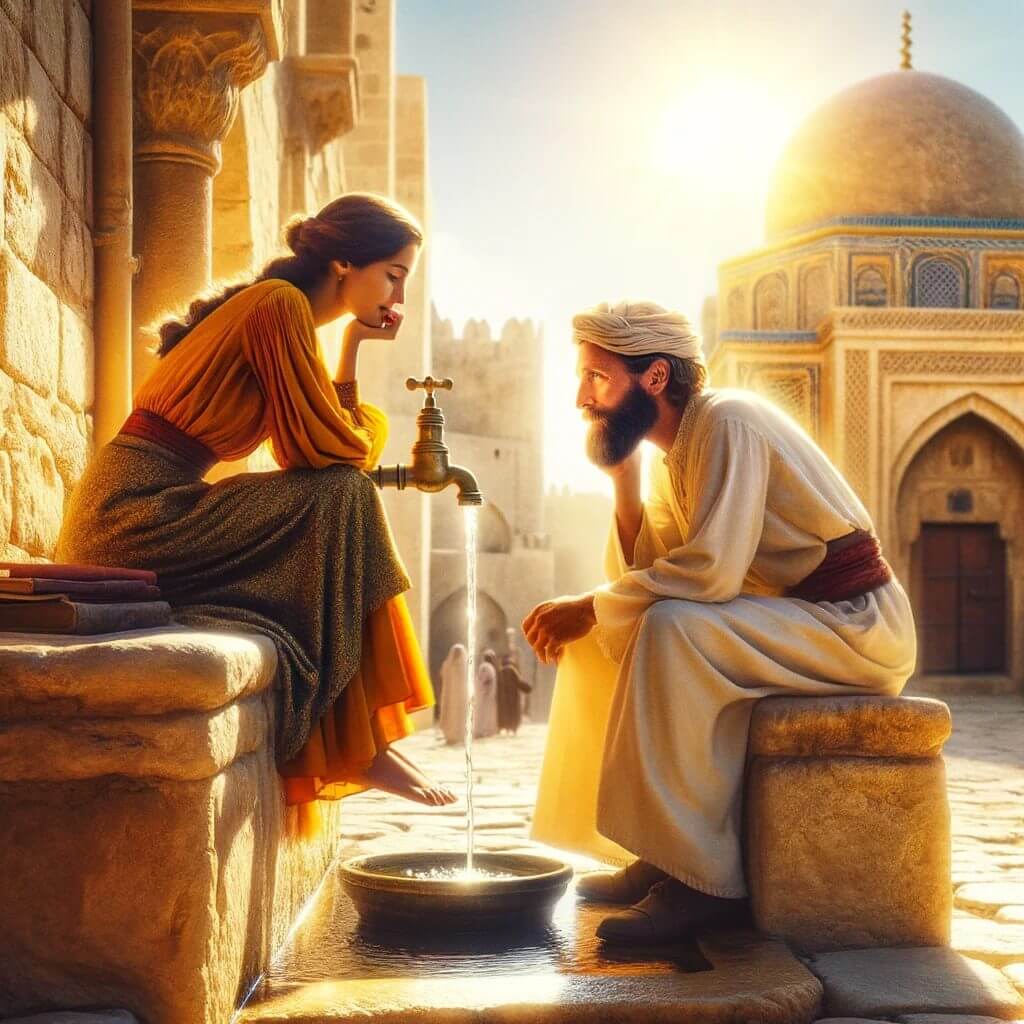
A bit too bright. I used the following prompt:
Can you make the image happen at the golden hour before sunset?
This is the result:
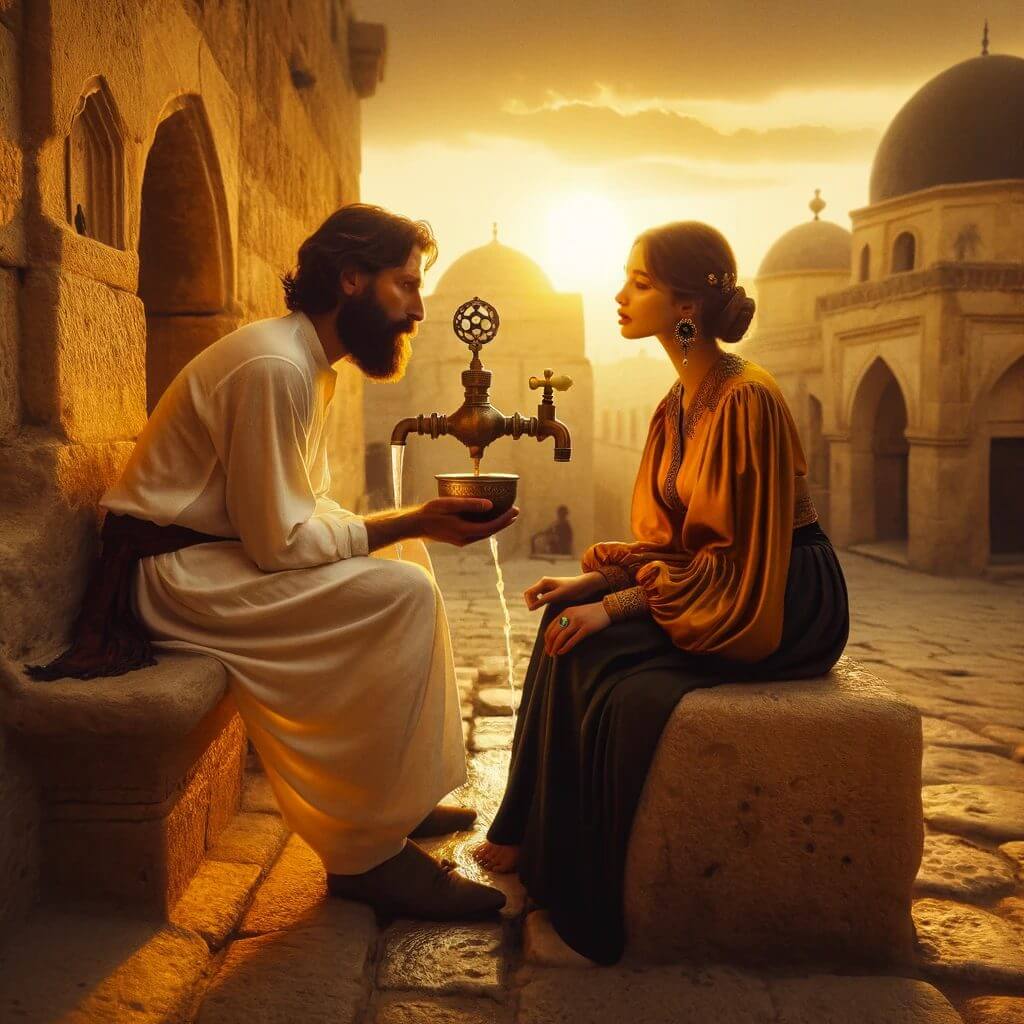
I like the new image setting. The only problem? The water tap seems to be magically hanging in midair. I also wanted a 16:9 image aspect ratio. I used this prompt:
Can the image be in 16:9 ratio? Not a square. Also make the tap attached to a wall
This is the final result:
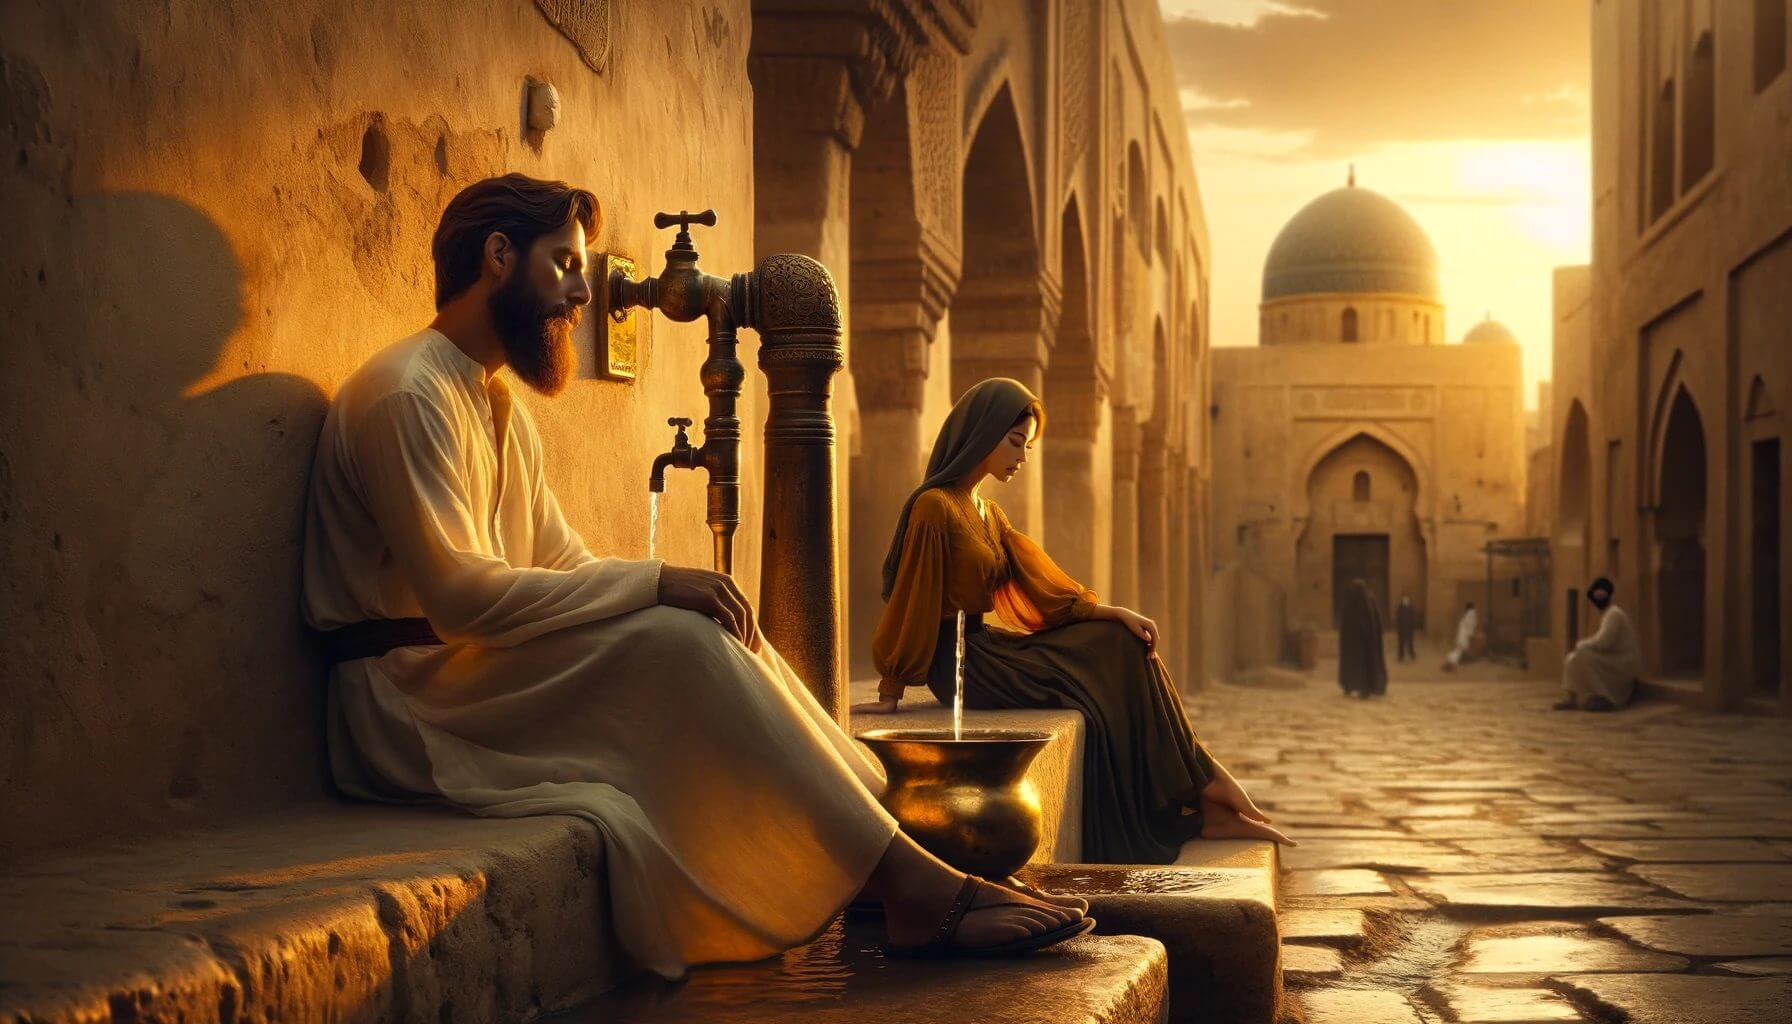
You get the idea. I could keep going and iterating the image for as long as I wanted.
Monetizing AI art images
Not everyone wants to make money with AI images. Some people seem to enjoy generating fun images that put a smile on others’ faces.
Case in point I just saw that cracked me up:
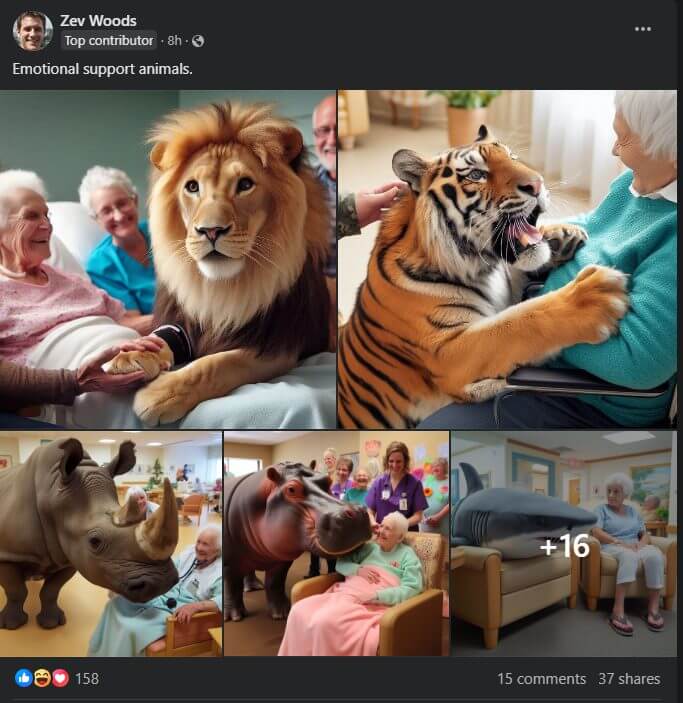
Image credit: https://www.facebook.com/
However, if you want to monetize your content, here are some great ideas.
Creating physical products
Have you ever thought about making money by using AI-generated images on products like:
- T-shirts
- Bags
- Hoodies
- And more?
Various platforms make this a piece of cake. They take care of everything from product creation to sales, so you don’t have to worry about fulfillment and delivery logistics.
Sell custom art as a service
You can set up your packages for AI image creation on platforms like Fiverr. There are similar opportunities on Upwork too. You decide what packages you want to offer and how much you want to charge. Create a listing and you’re ready to get started.
Commercial licensing
If you use AI to churn out high-quality, in-demand images, you can license them for commercial use. Sites like Adobe Stock jumped onboard this trend.
From your end, you just upload your images, add the necessary details, and wait. As people search and find your images, you earn royalties whenever they’re used commercially.
Online marketplaces
There are several marketplaces where you can list your AI images for sale. Some are better for artists specializing in a particular genre, while others provide wide-ranging exposure for all.
Want a deeper look into these and other opportunities for AI artists? Check out my blog post on AI art monetization for a more comprehensive overview.
Conclusion
Generating the right types of AI images starts with having a clear idea of what you want to create. If you can verbalize your vision, there are multiple tools to turn your thoughts into reality.
Next, taking the time to iterate your prompts and refine the generated images will ensure a higher-quality product each time you generate an image.
Finally, what you decide to do with the AI art is totally up to you. Whether you sell it online or use it as part of a larger project, the possibilities are only limited by your imagination.
What are your next steps? If I were you, I’d pick a tool from the above and get started. You’ll be surprised how quickly you can begin to create stunning, AI-generated visuals.
